Watch this video to review onboarding a new employee using Class ID. The detailed instructions below the video walk through the entire employer/employee interactive onboarding experience.
To add a new hire start at the employee menu – onboarding – add new employee.
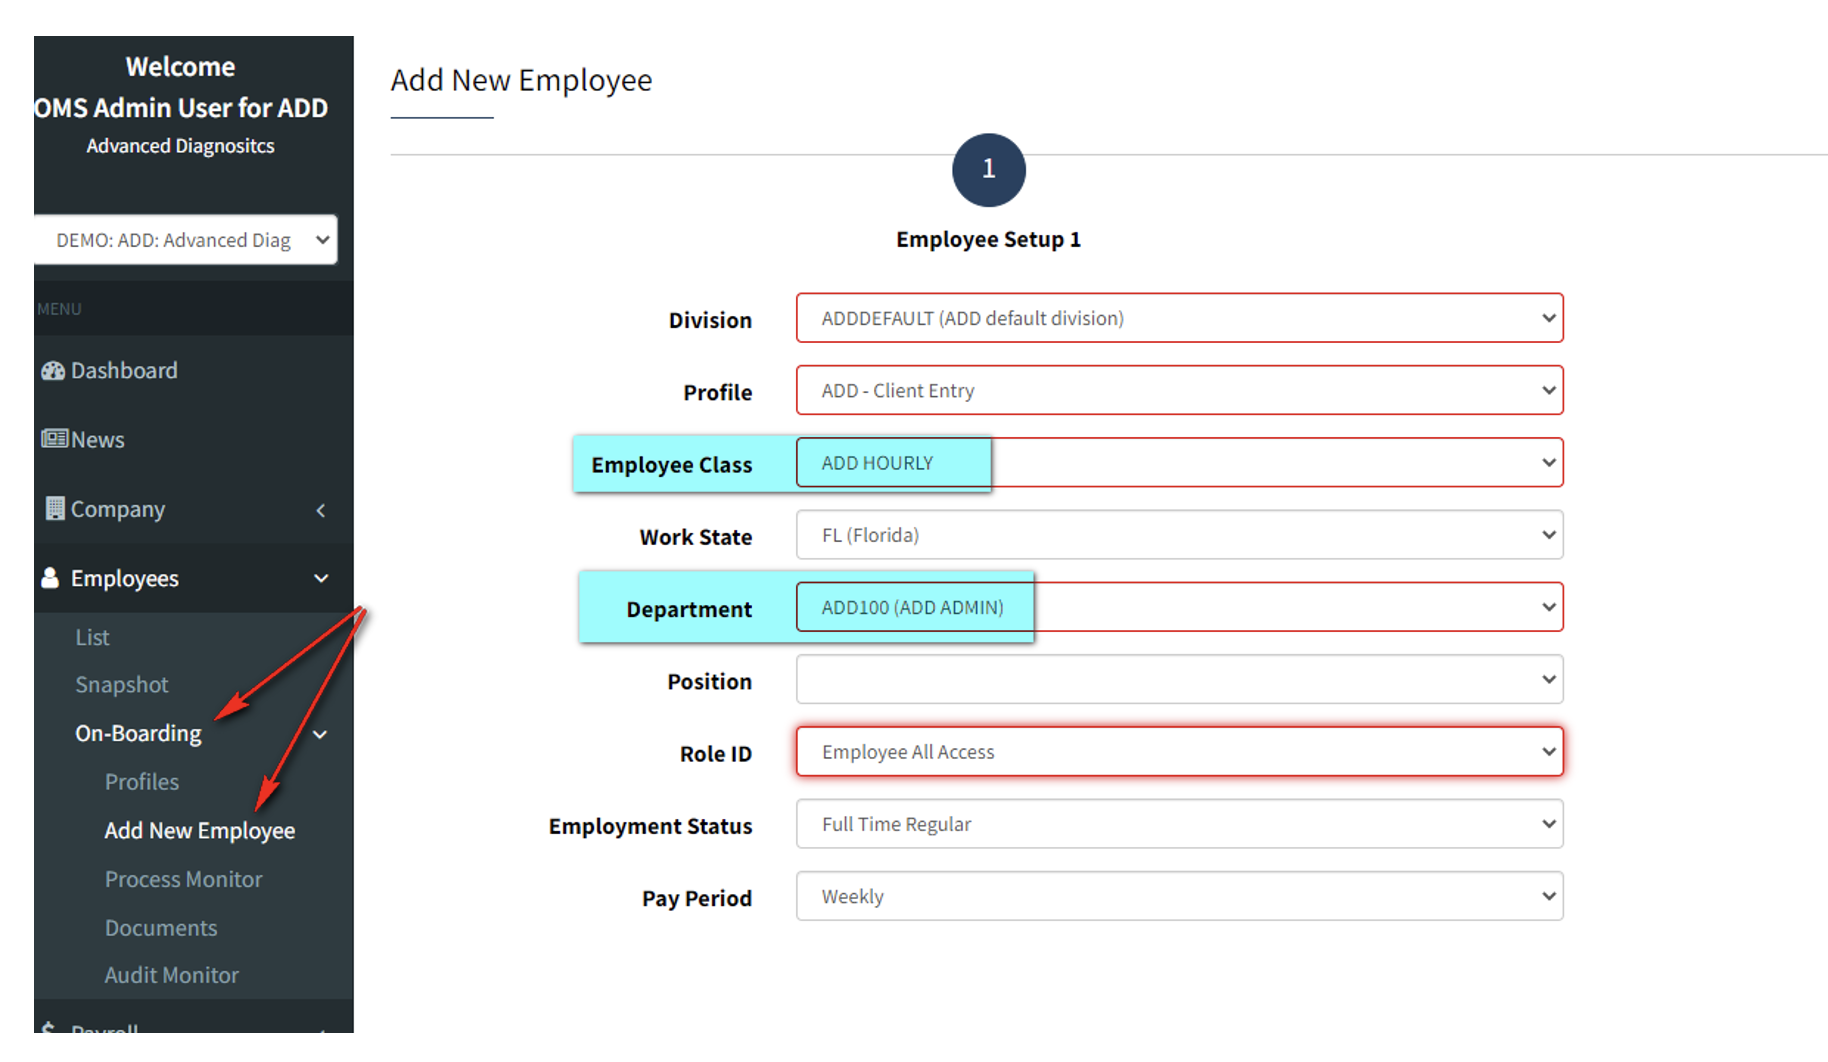
Employee Class is the group of employees this new hire belongs to. This selection controls what codes automatically pull into the employee set up. You will have more than one type and you will set this for each new hire you enter. The department will also be assigned per new hire entry. ALL THE OTHER DATA IN RED IS THE SAME FOR EACH NEW PERSON YOU KEY IN – REFER TO YOUR INDIVIDUALIZED EMAIL from Erica Long – elong@omsgroup.com for your company’s specific Role ID.
You will continue to move through each screen completing all the required data in red and selecting the GREEN continue button on each page.
The employer will log on and select the employee onboarding from left hand menu. The employer will enter the basic data that creates the employee profile. 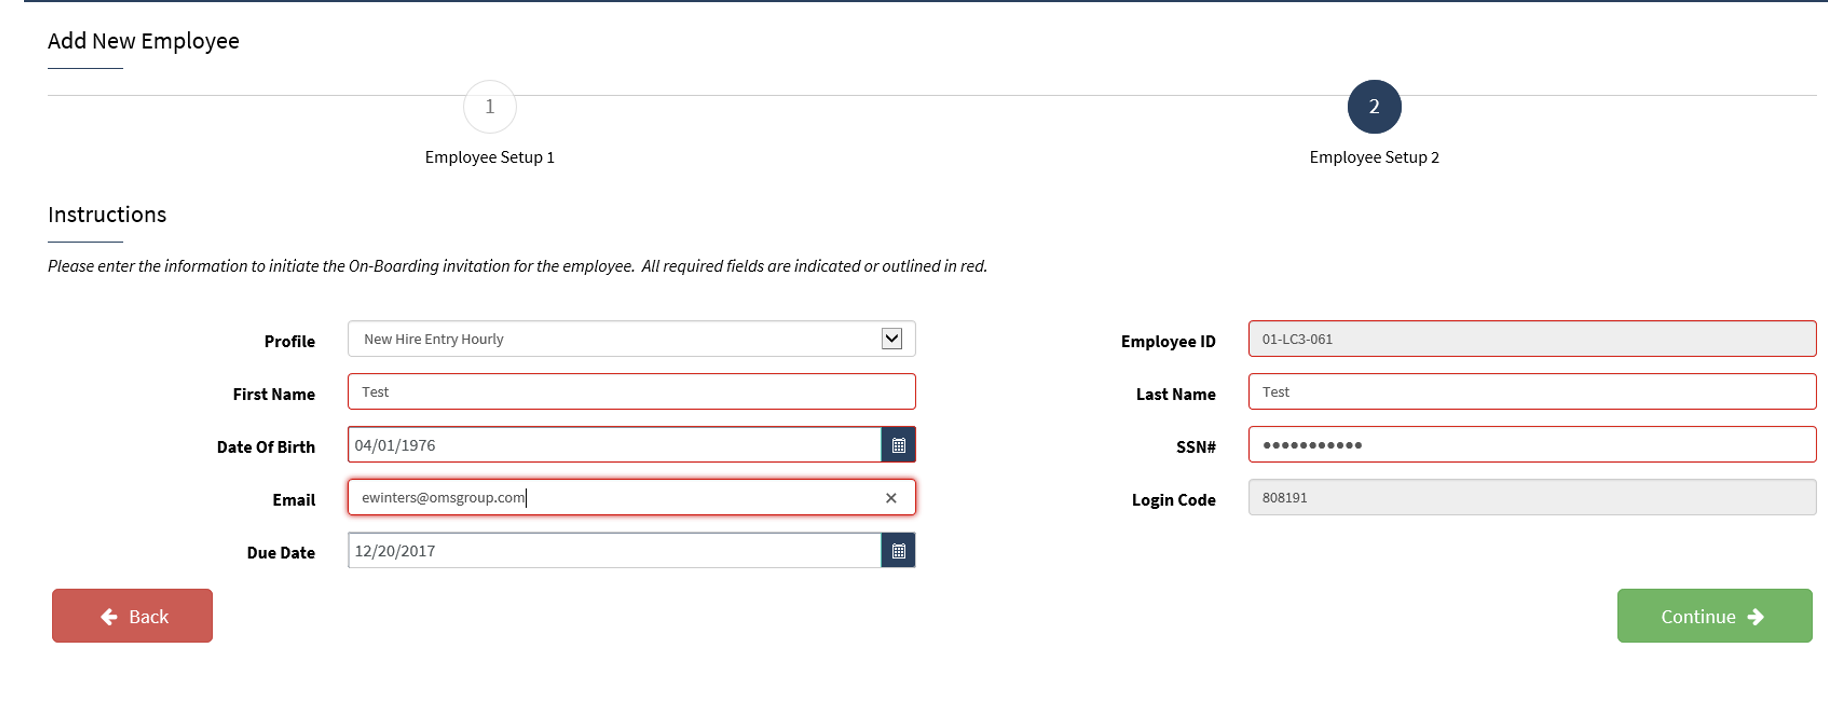
When you get to the PAY CODES task the Employee Class selection from the initial data entry screen will have prefilled in the earning codes. To access the codes and update the pay rate you will ALWAYS choose “edit existing”.
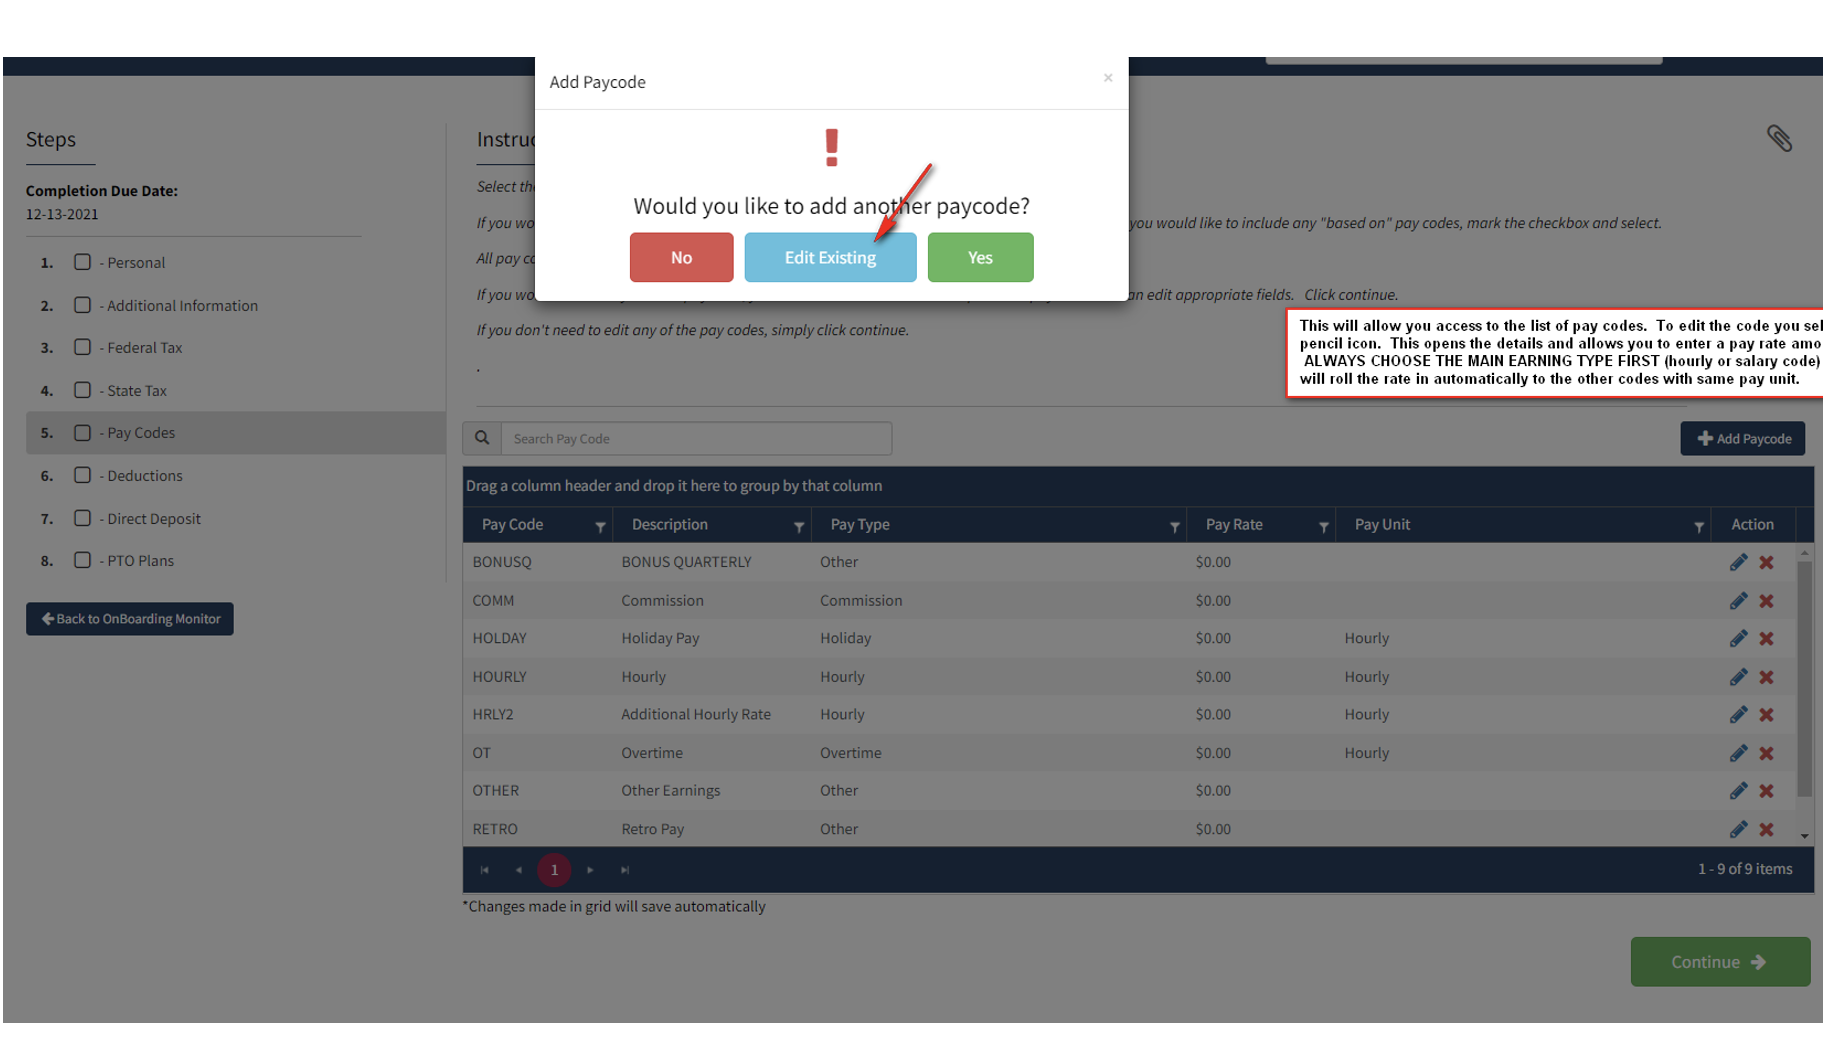
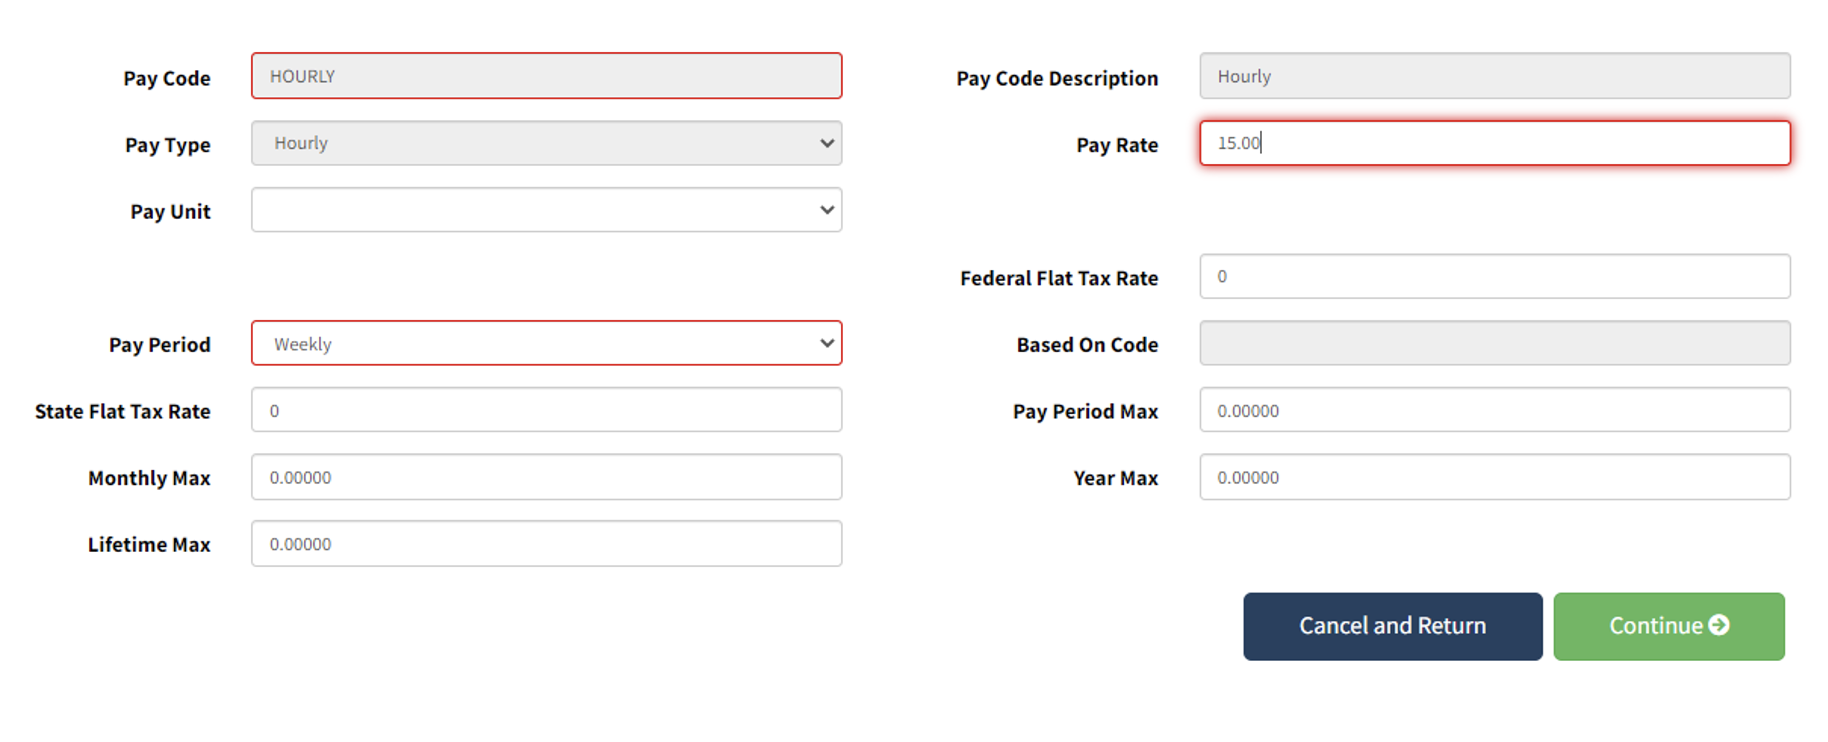
This window will continue to pop up. Continue to choose edit existing until you have updated all the pay code necessary.
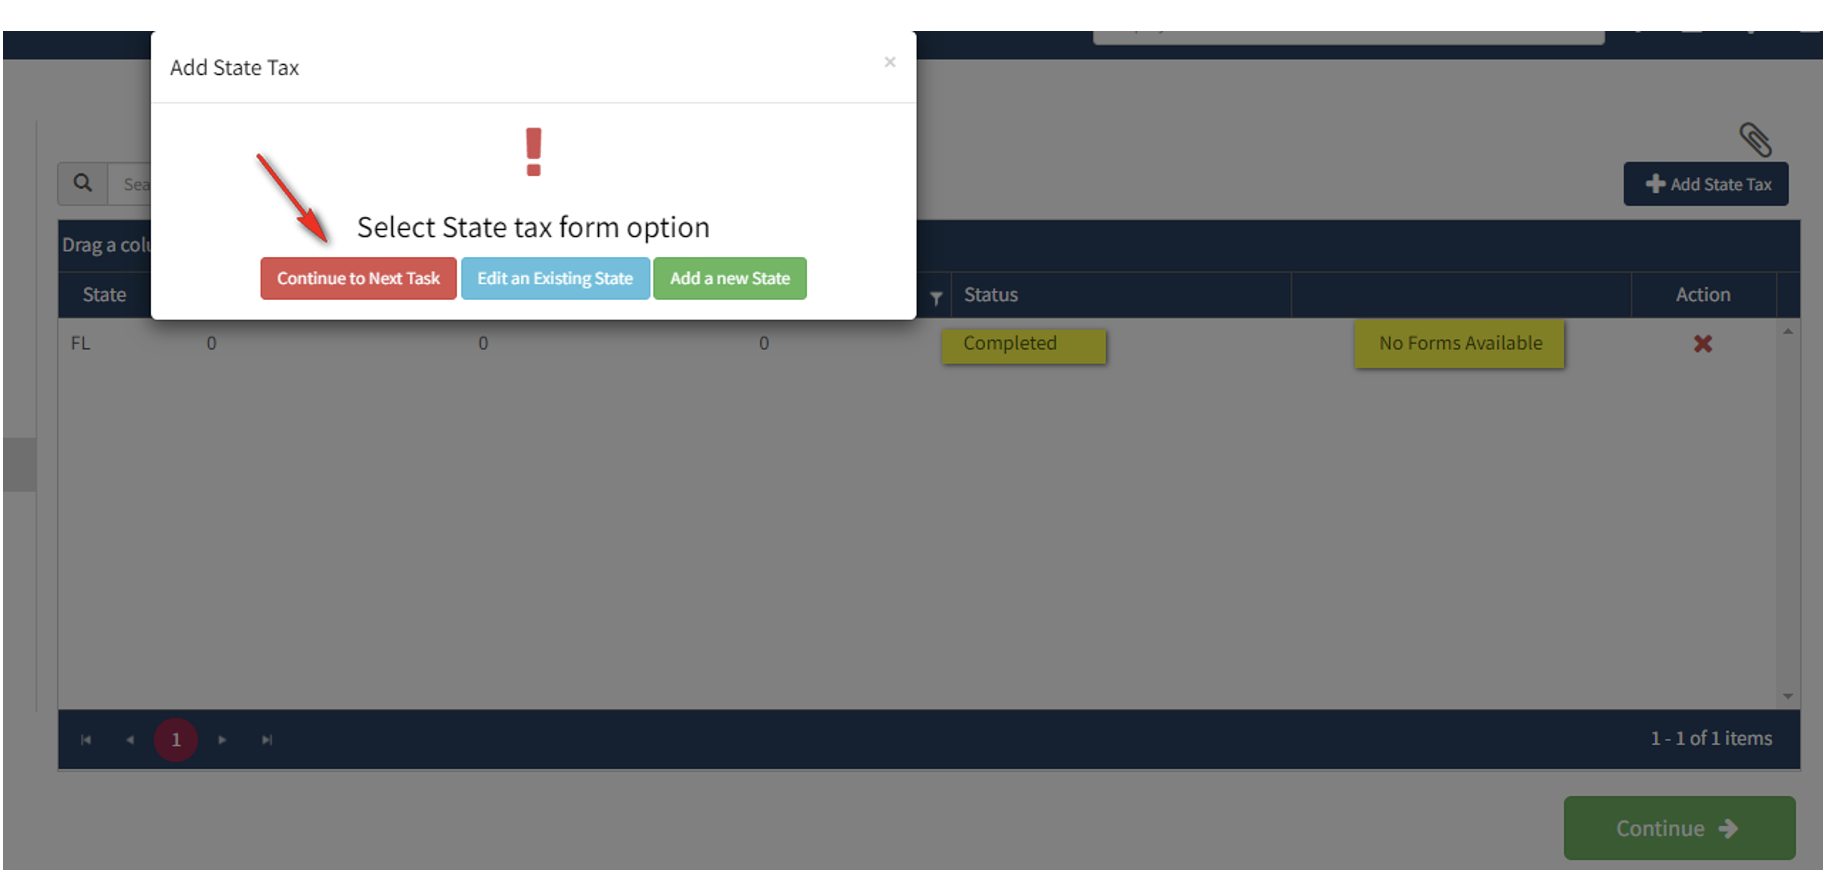
When you get to the state tax section you will just click “continue to next task” as you will see in this screen shot that Florida is defaulted and requires no action since we do not have state tax here.
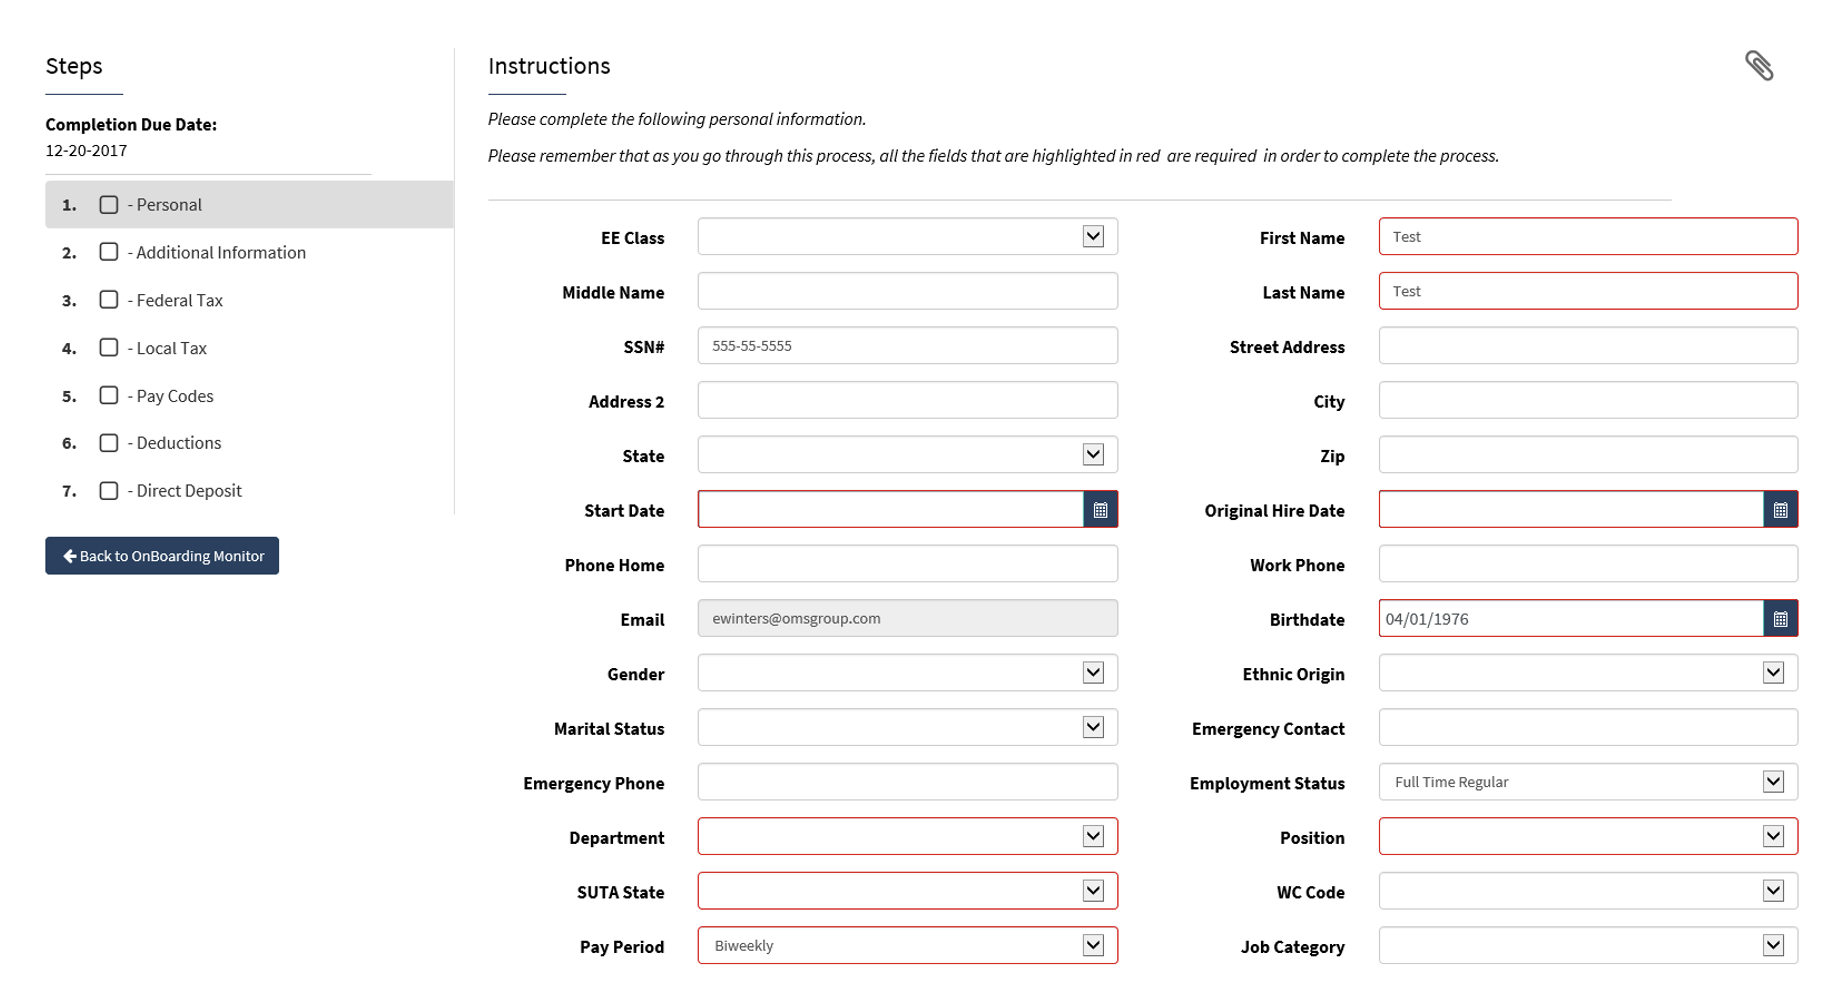
The system will walk you through each step that is listed on the left side. Once all these fields have been updated you will get a summary which looks like the screen shot below.
This reflects all the completed data.
In the interim, an email was sent to the employee providing them with the login code that they will need to create their online access.
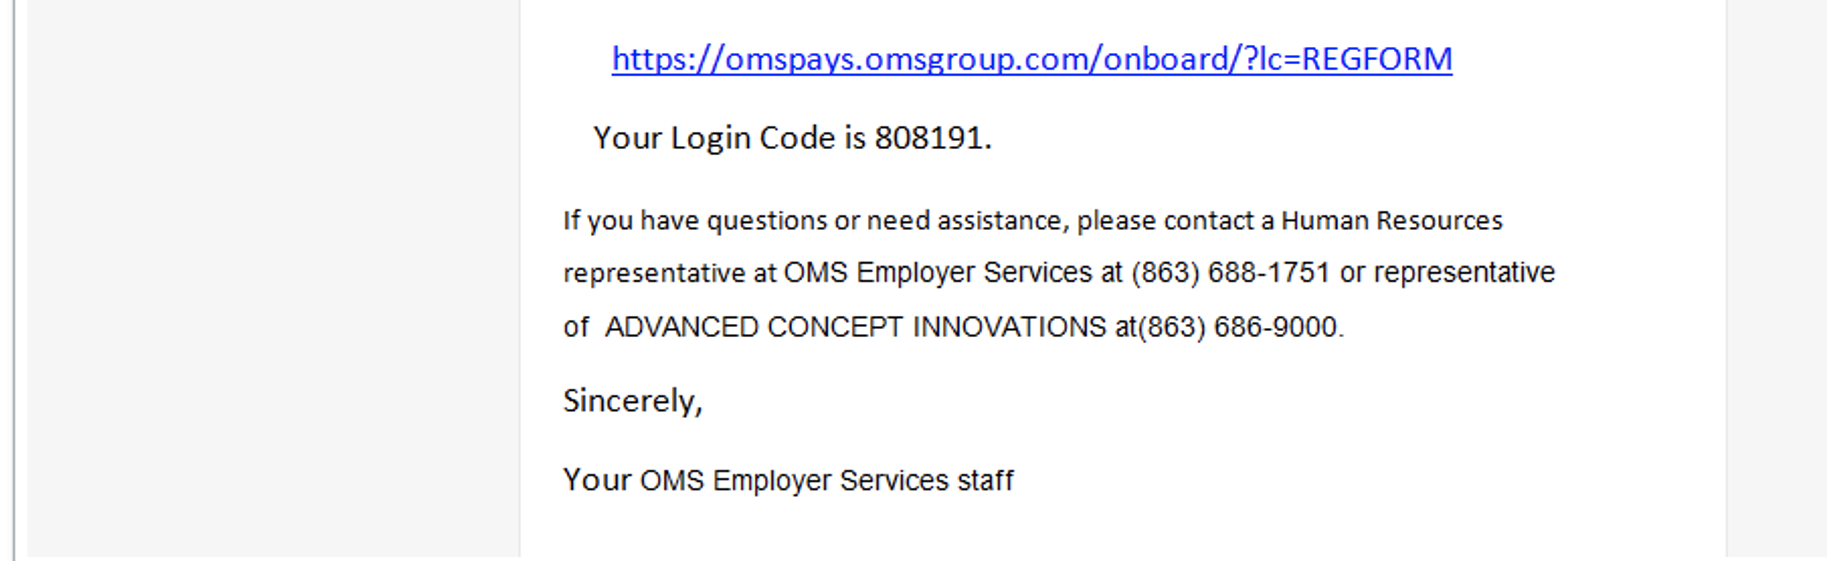
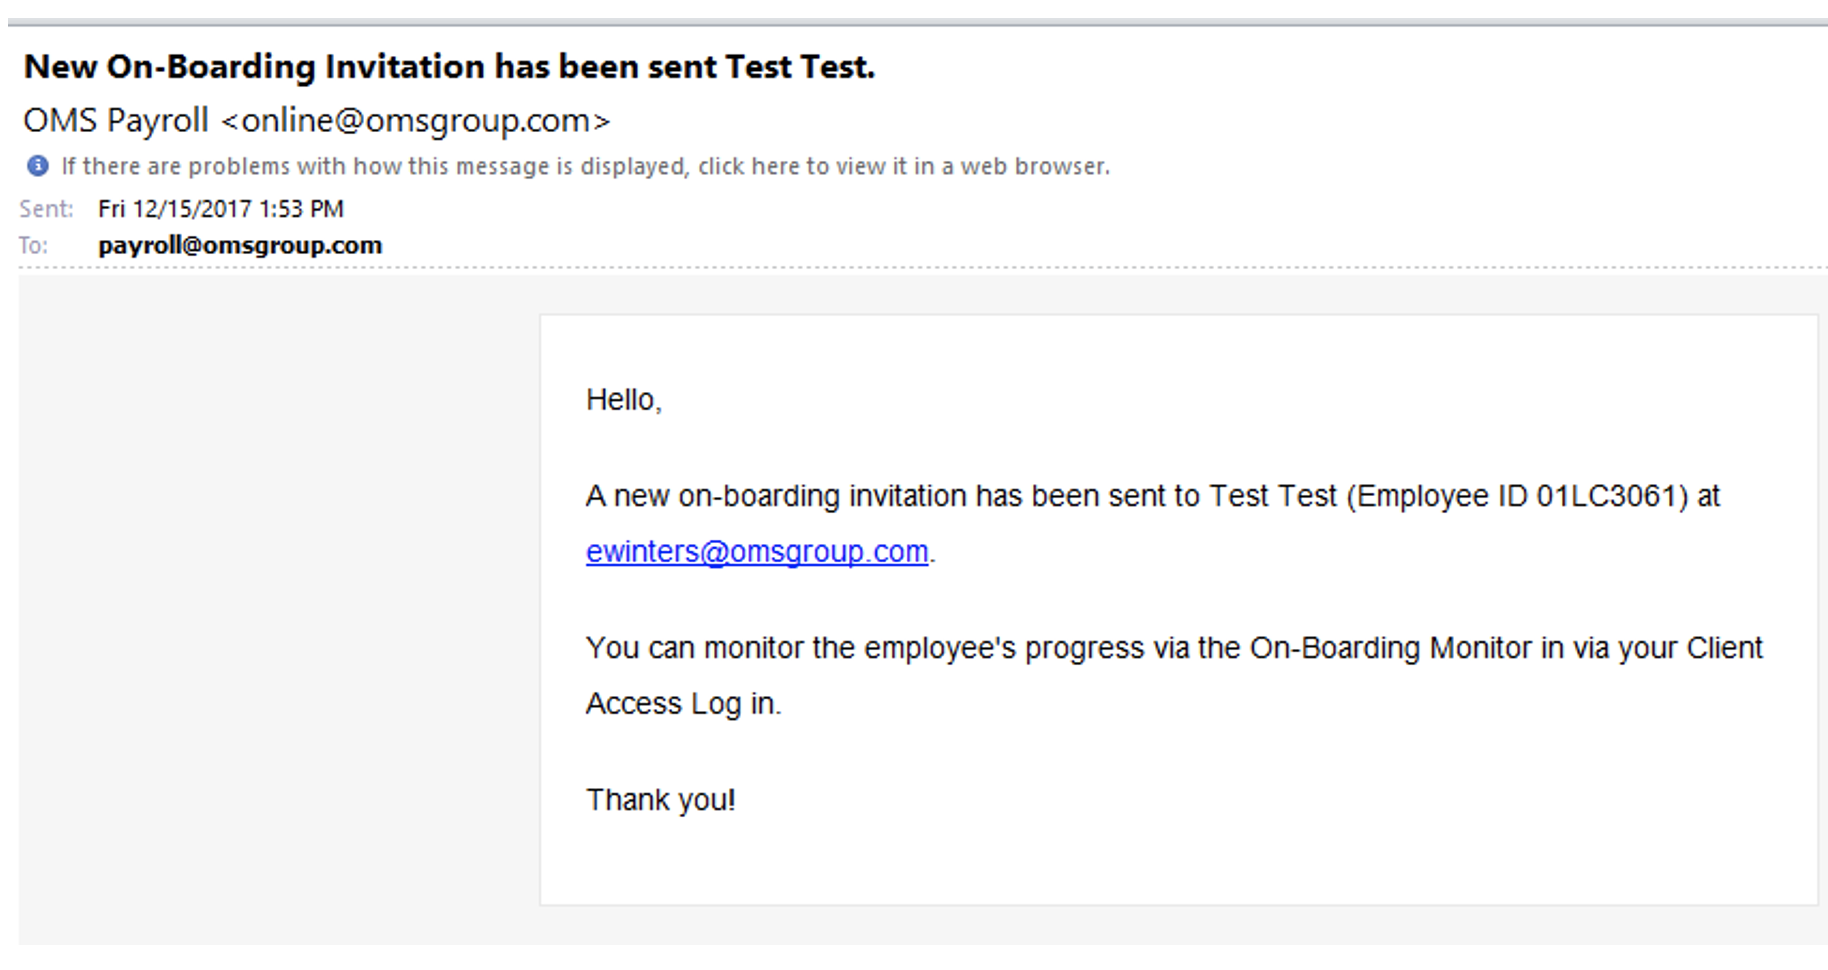
As the employer you will also get notice that an email was sent to new hire.
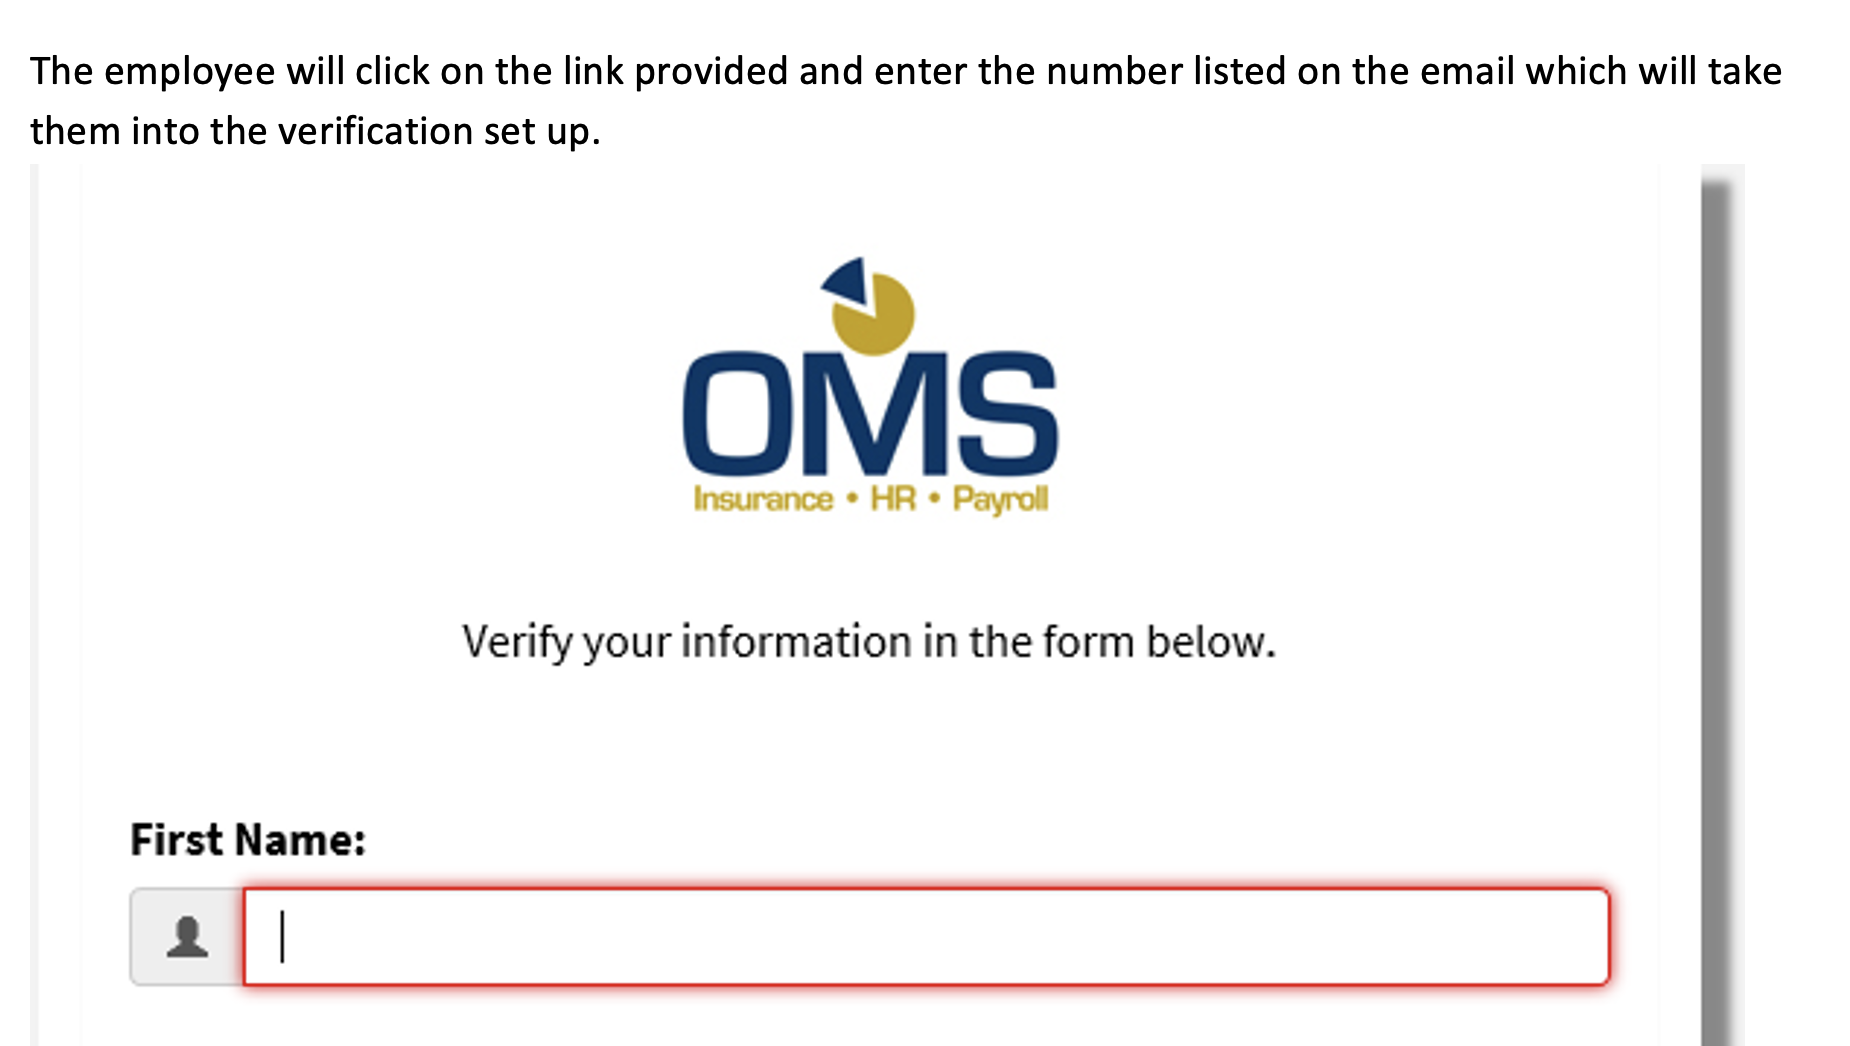
The employee will click on the link provided and enter the number listed on the email which will take them into the verification setup.
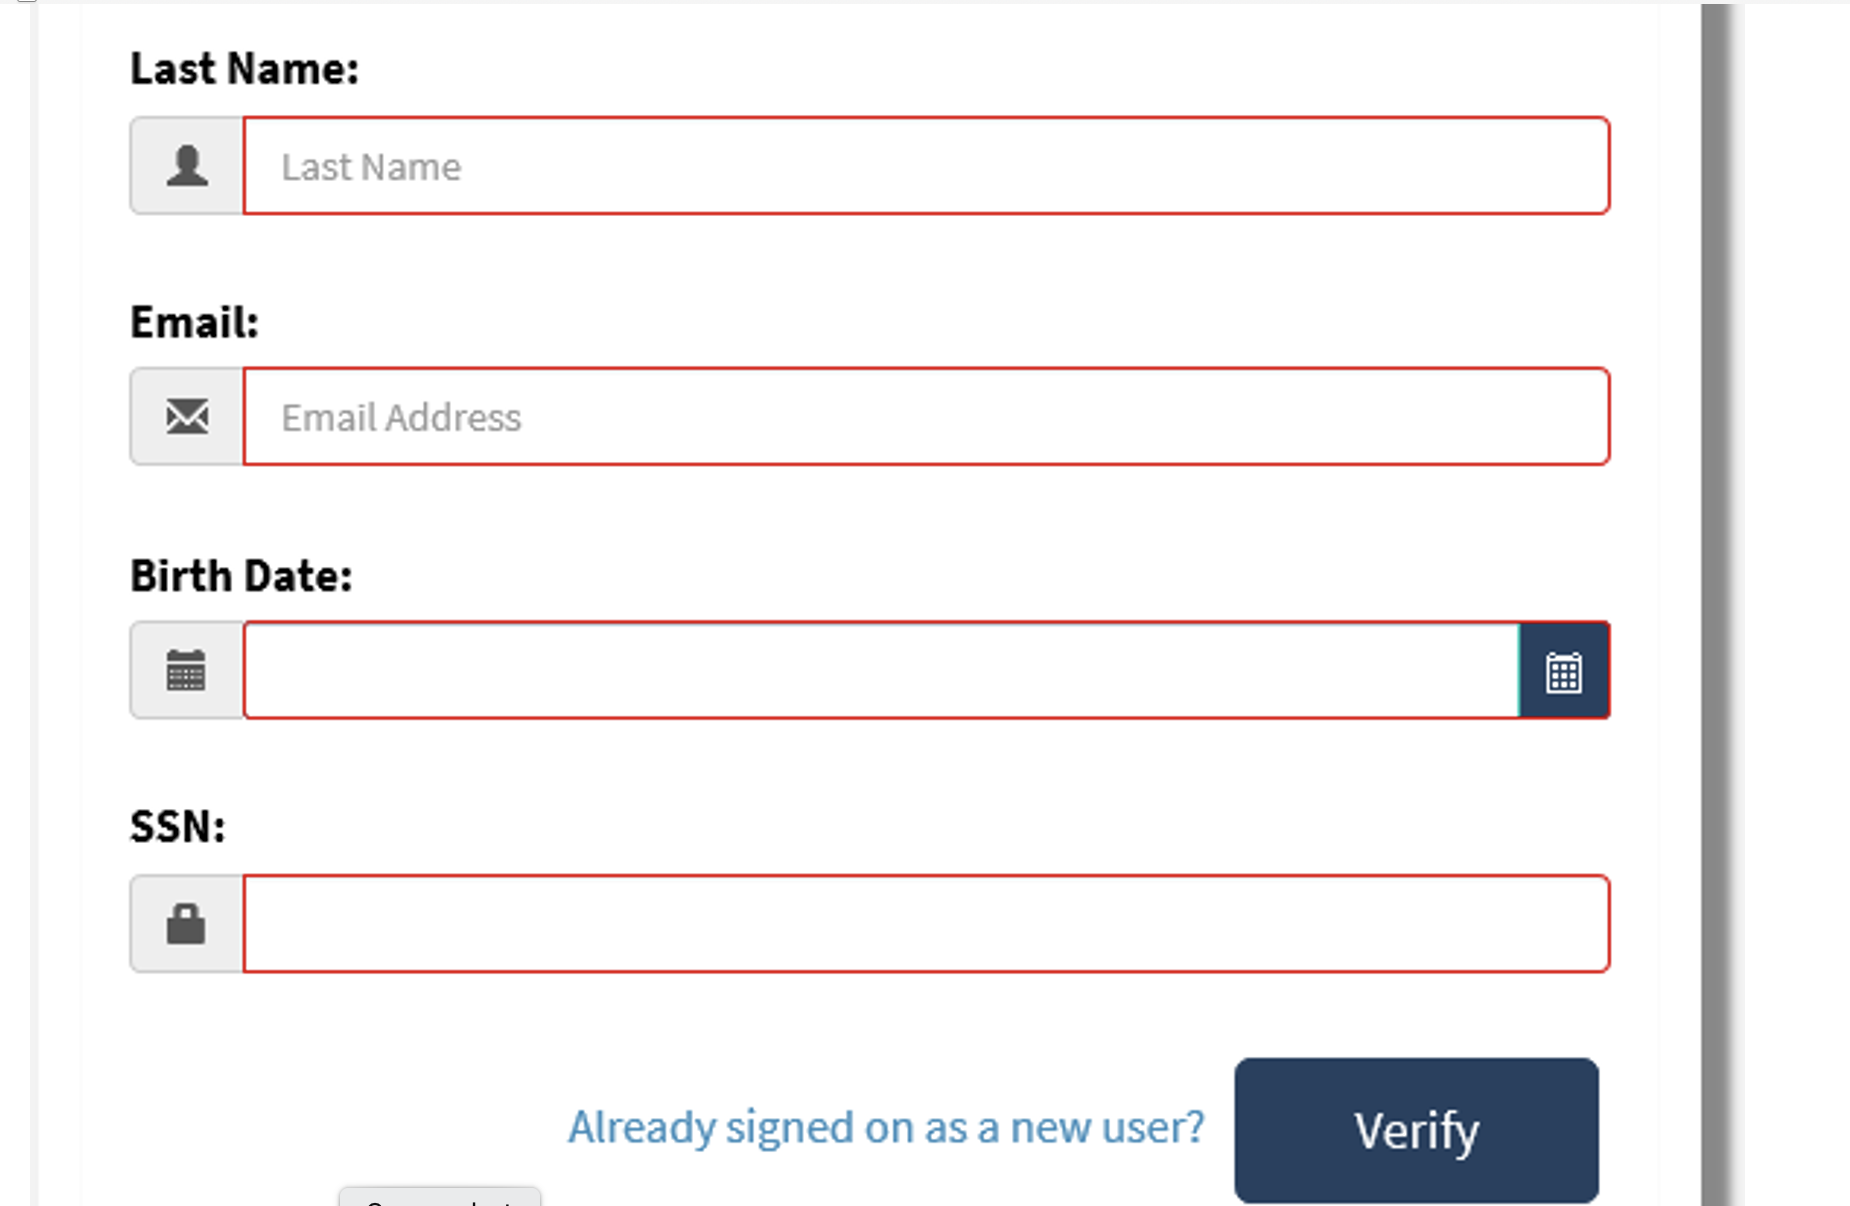
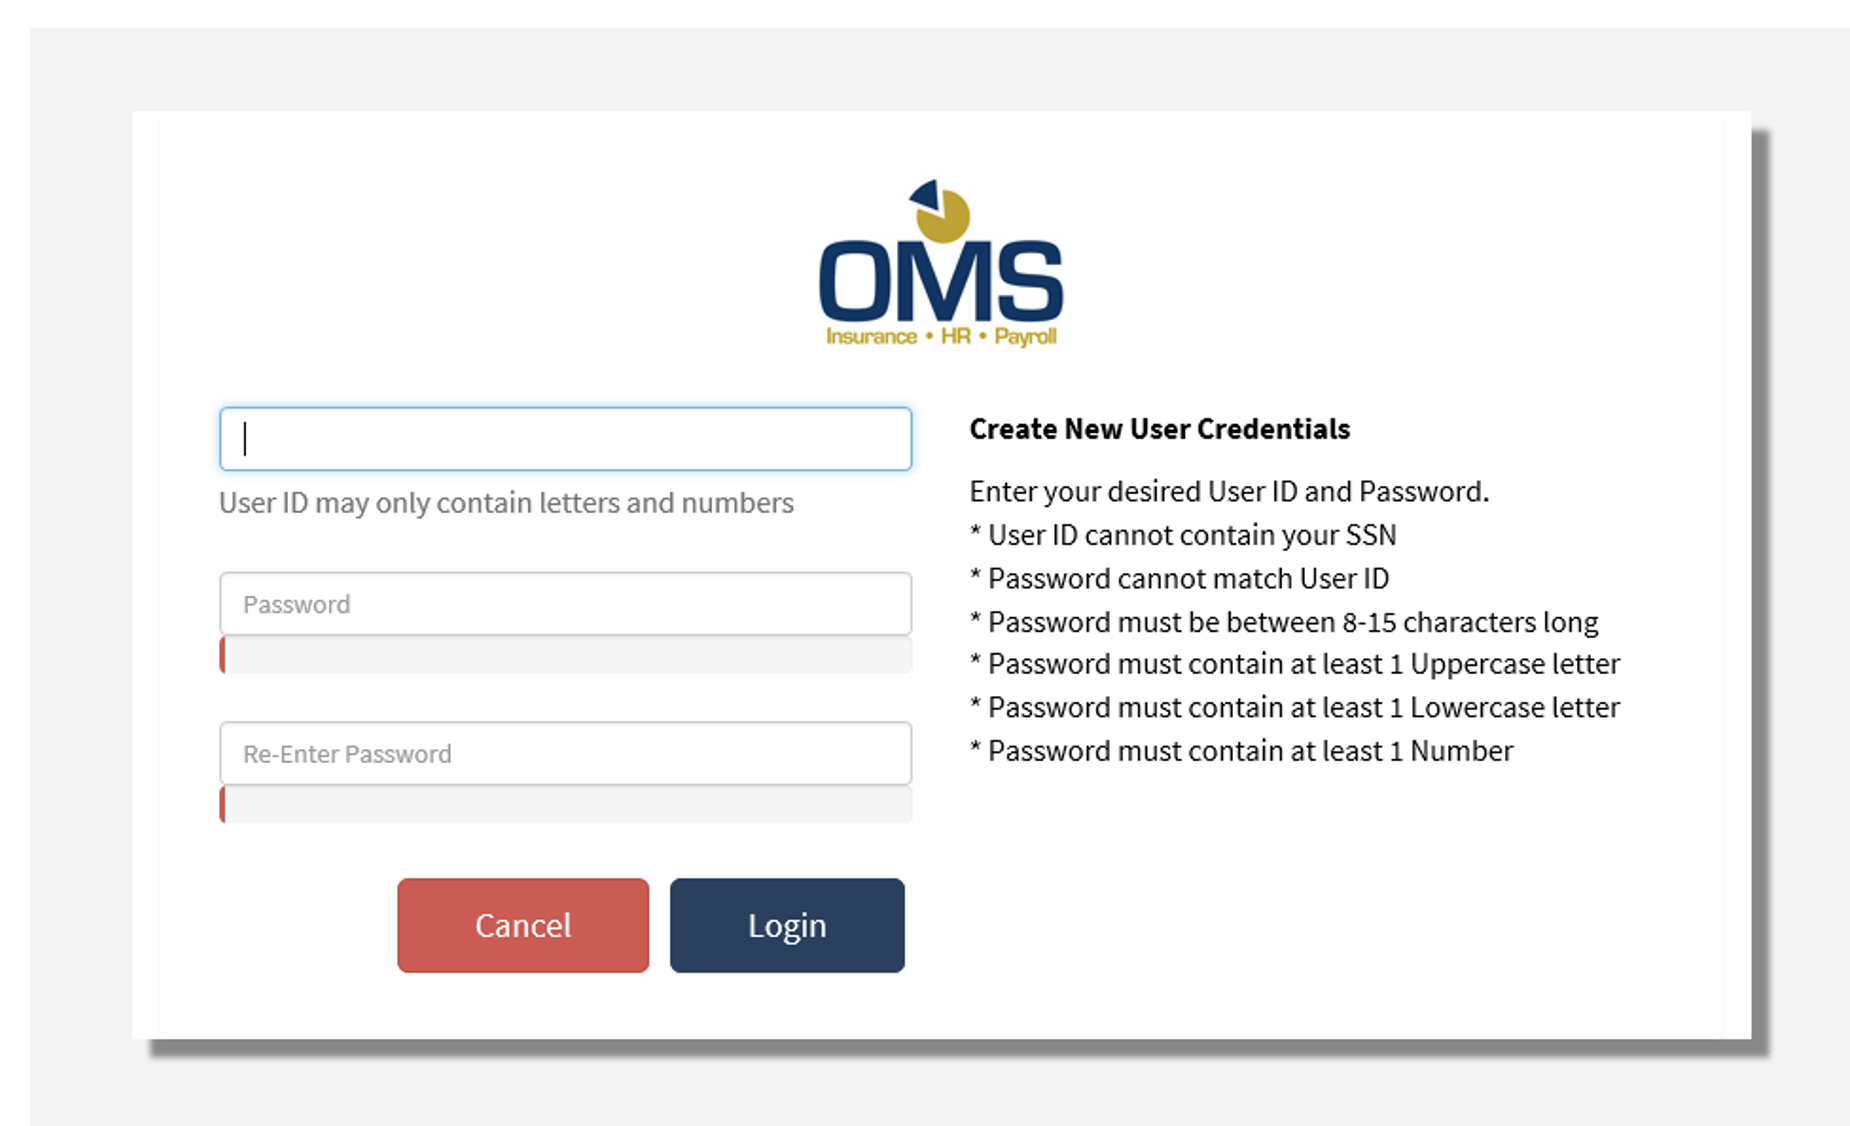
Once this data is confirmed it will prompt the employee to create their own username and password to access the system.
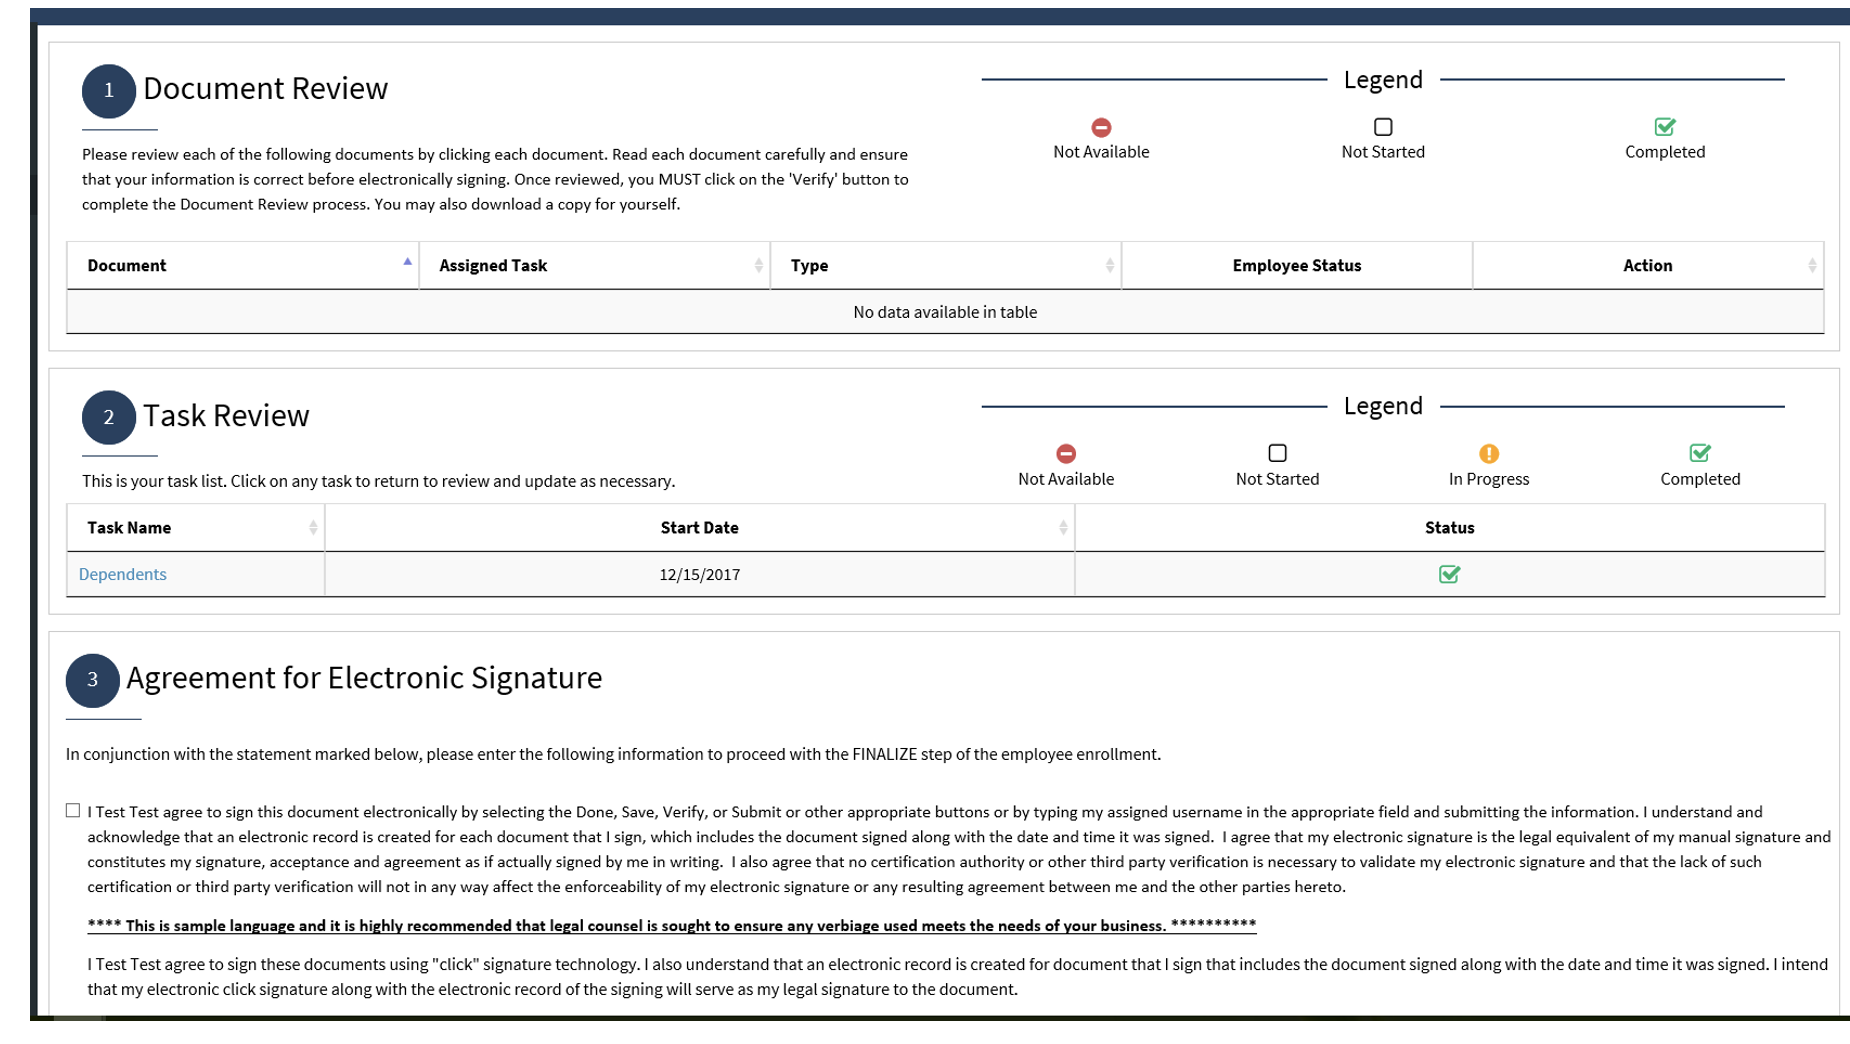
Once the employee creates the password they will be asked to add any dependent info and then they will be taken to this page which will allow them to review and then establish an electronic signature.
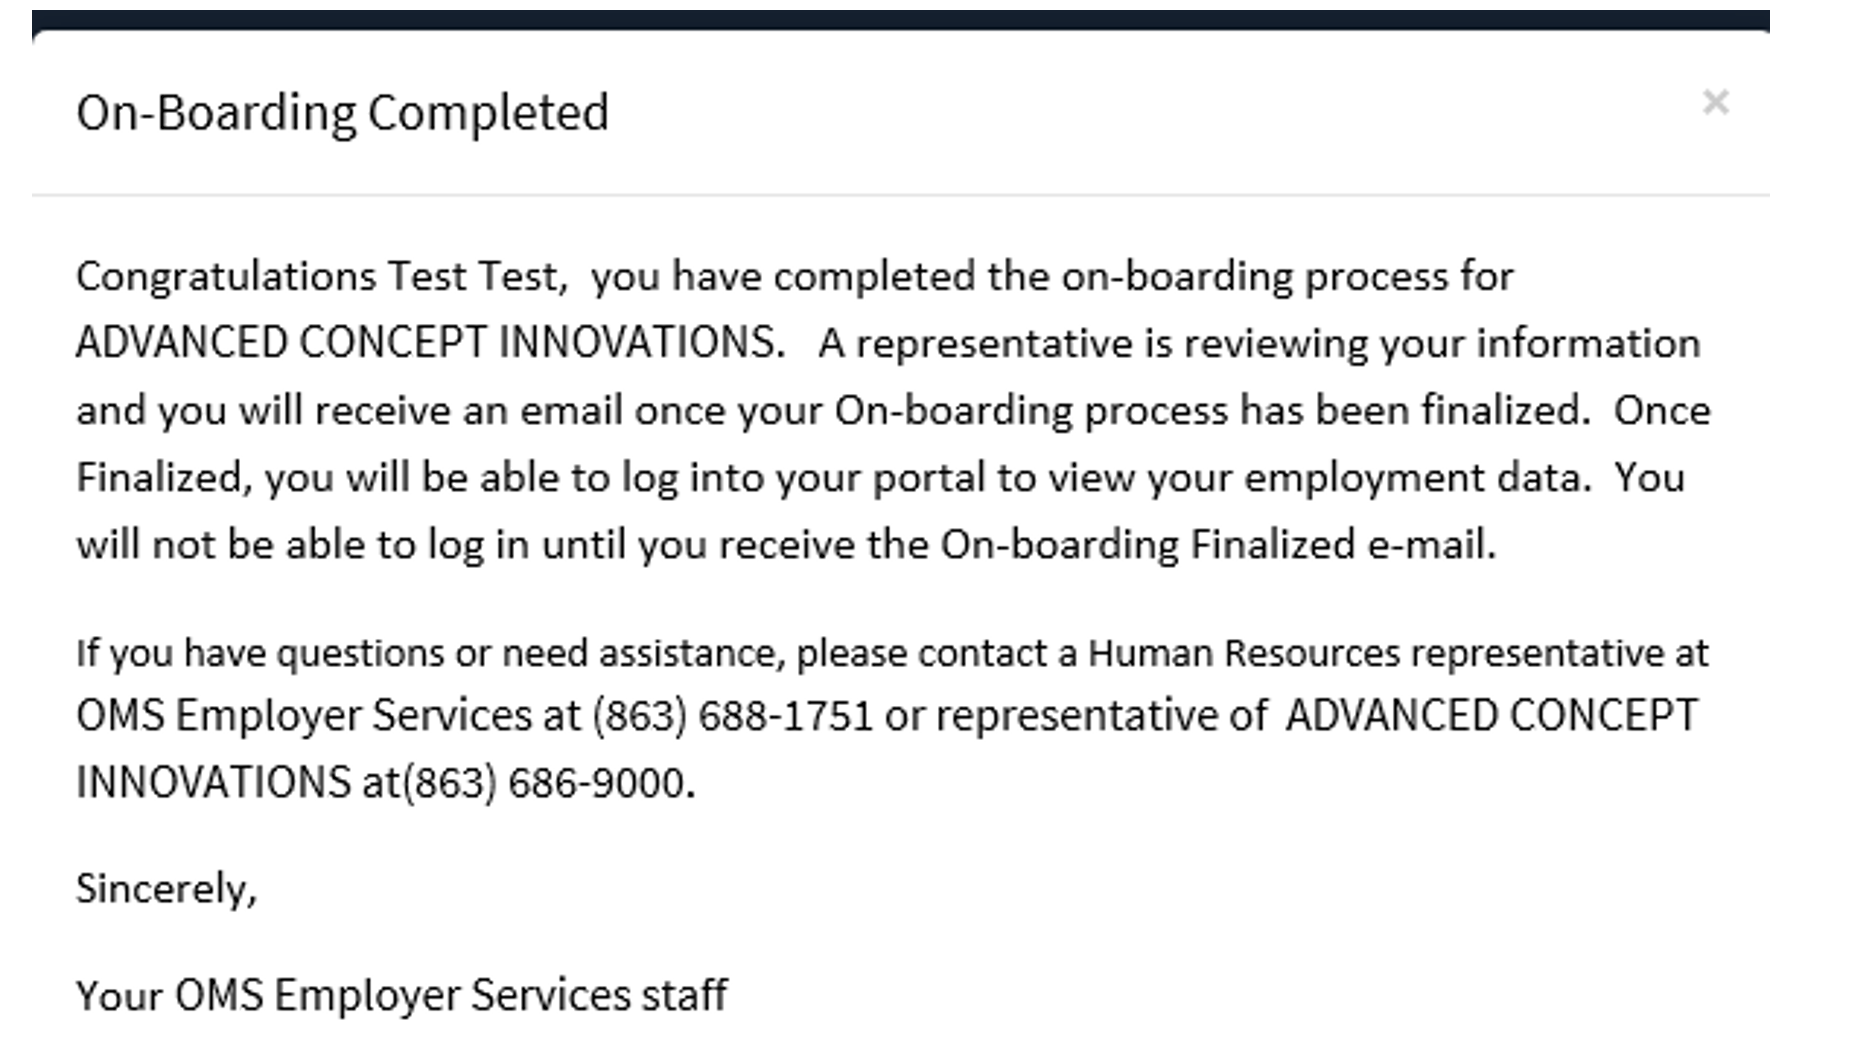
When they finalize the signature the system will provide the employee with a message confirming completion.
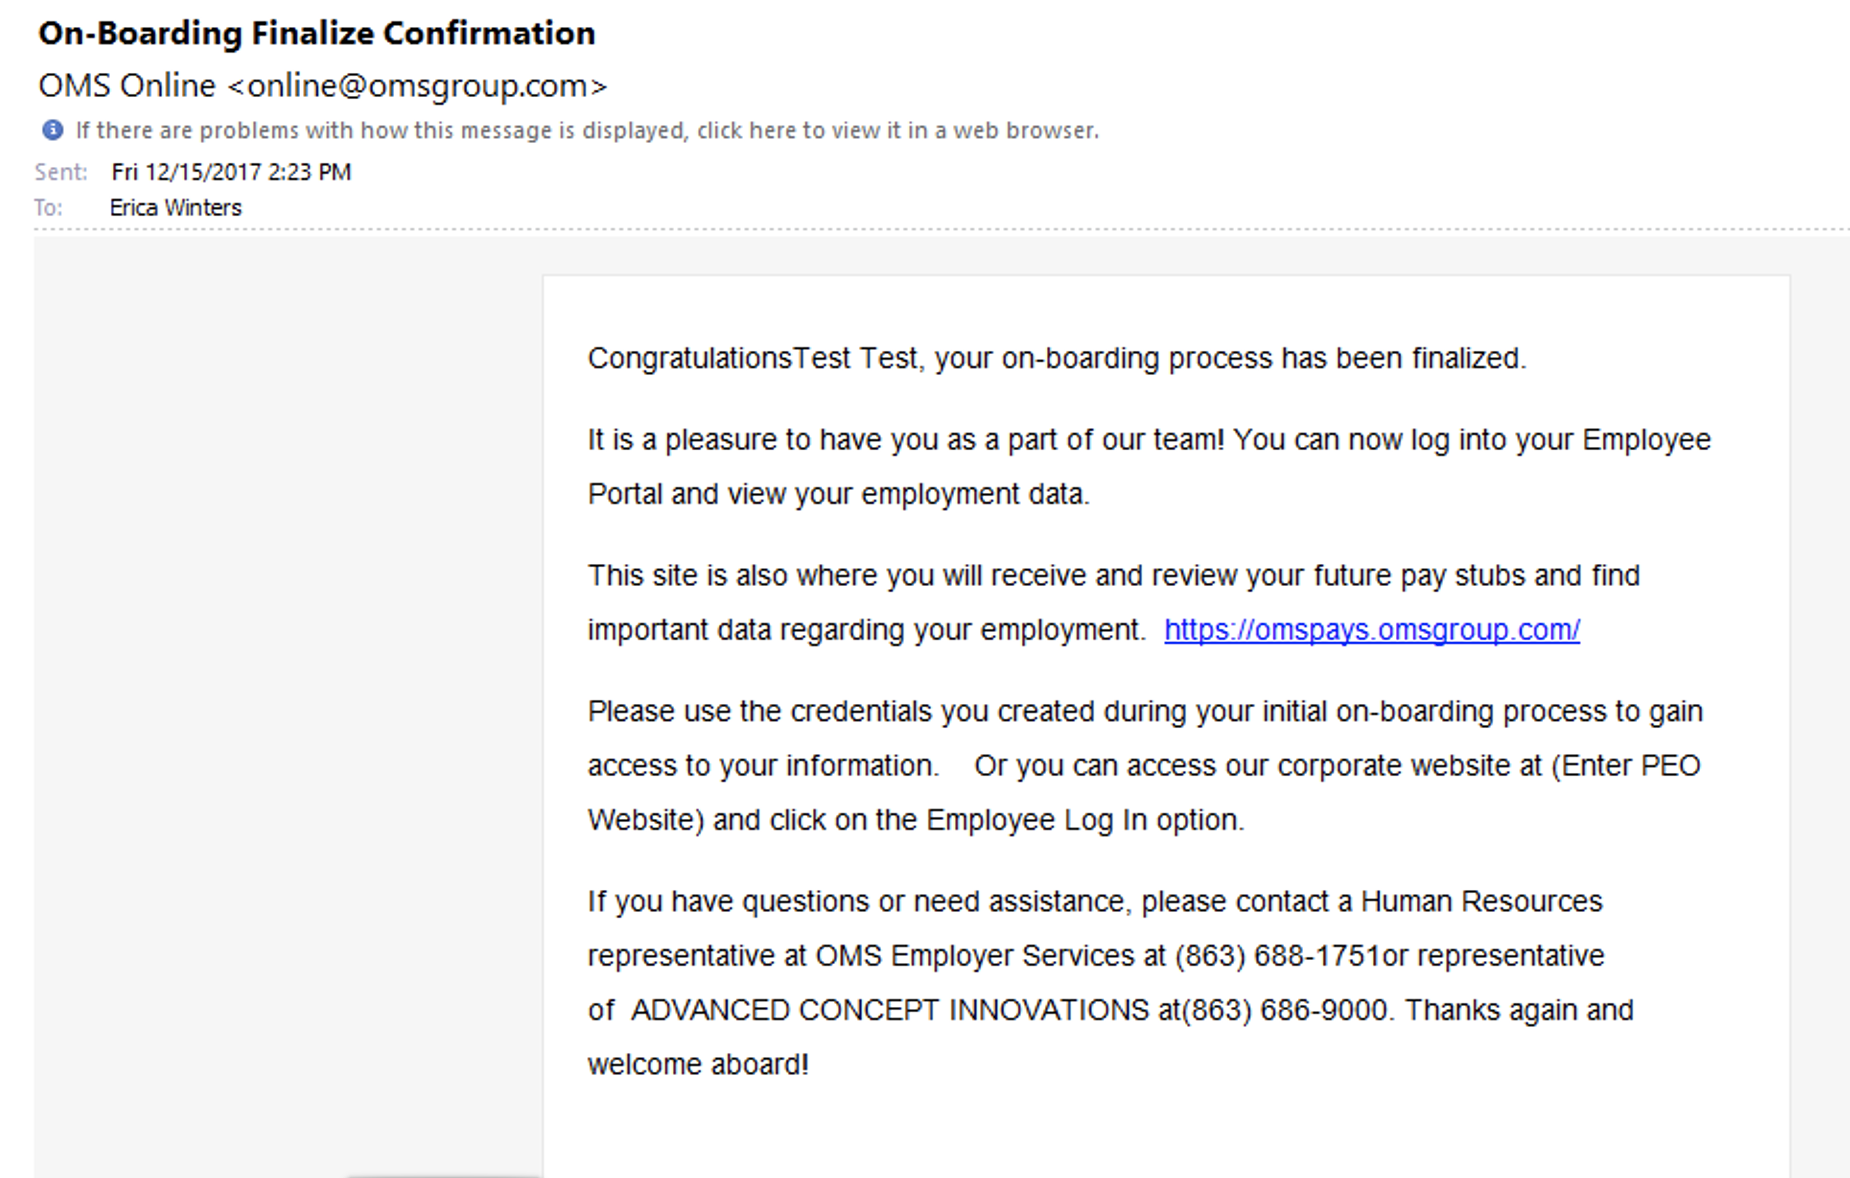
The employee will also receive an email that provides them with the link for future logins.
How to finalize a new employee and release them to your active employee list: Please note this can only be done once the employee has complete their registration and all the data from their onboarding invitation. As the employer you will receive an email once said individual has done so.
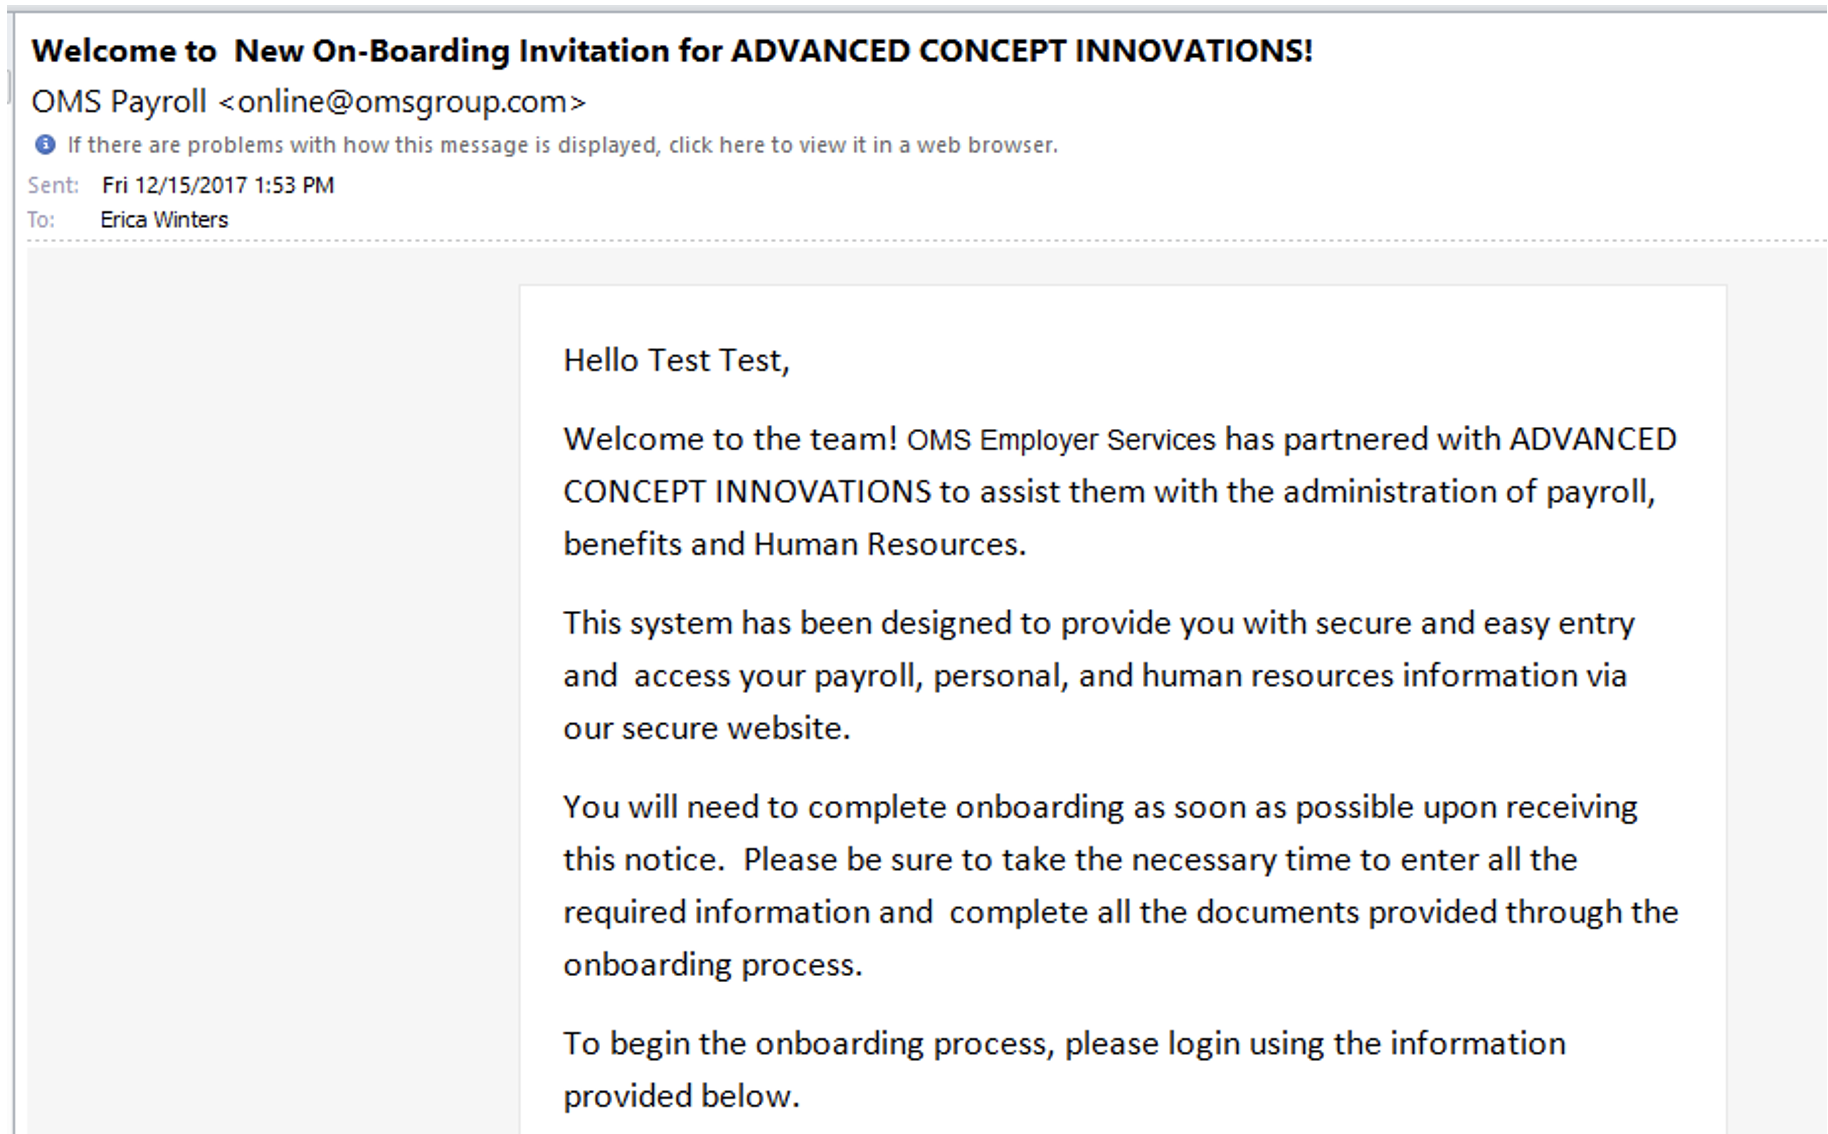
Example email:
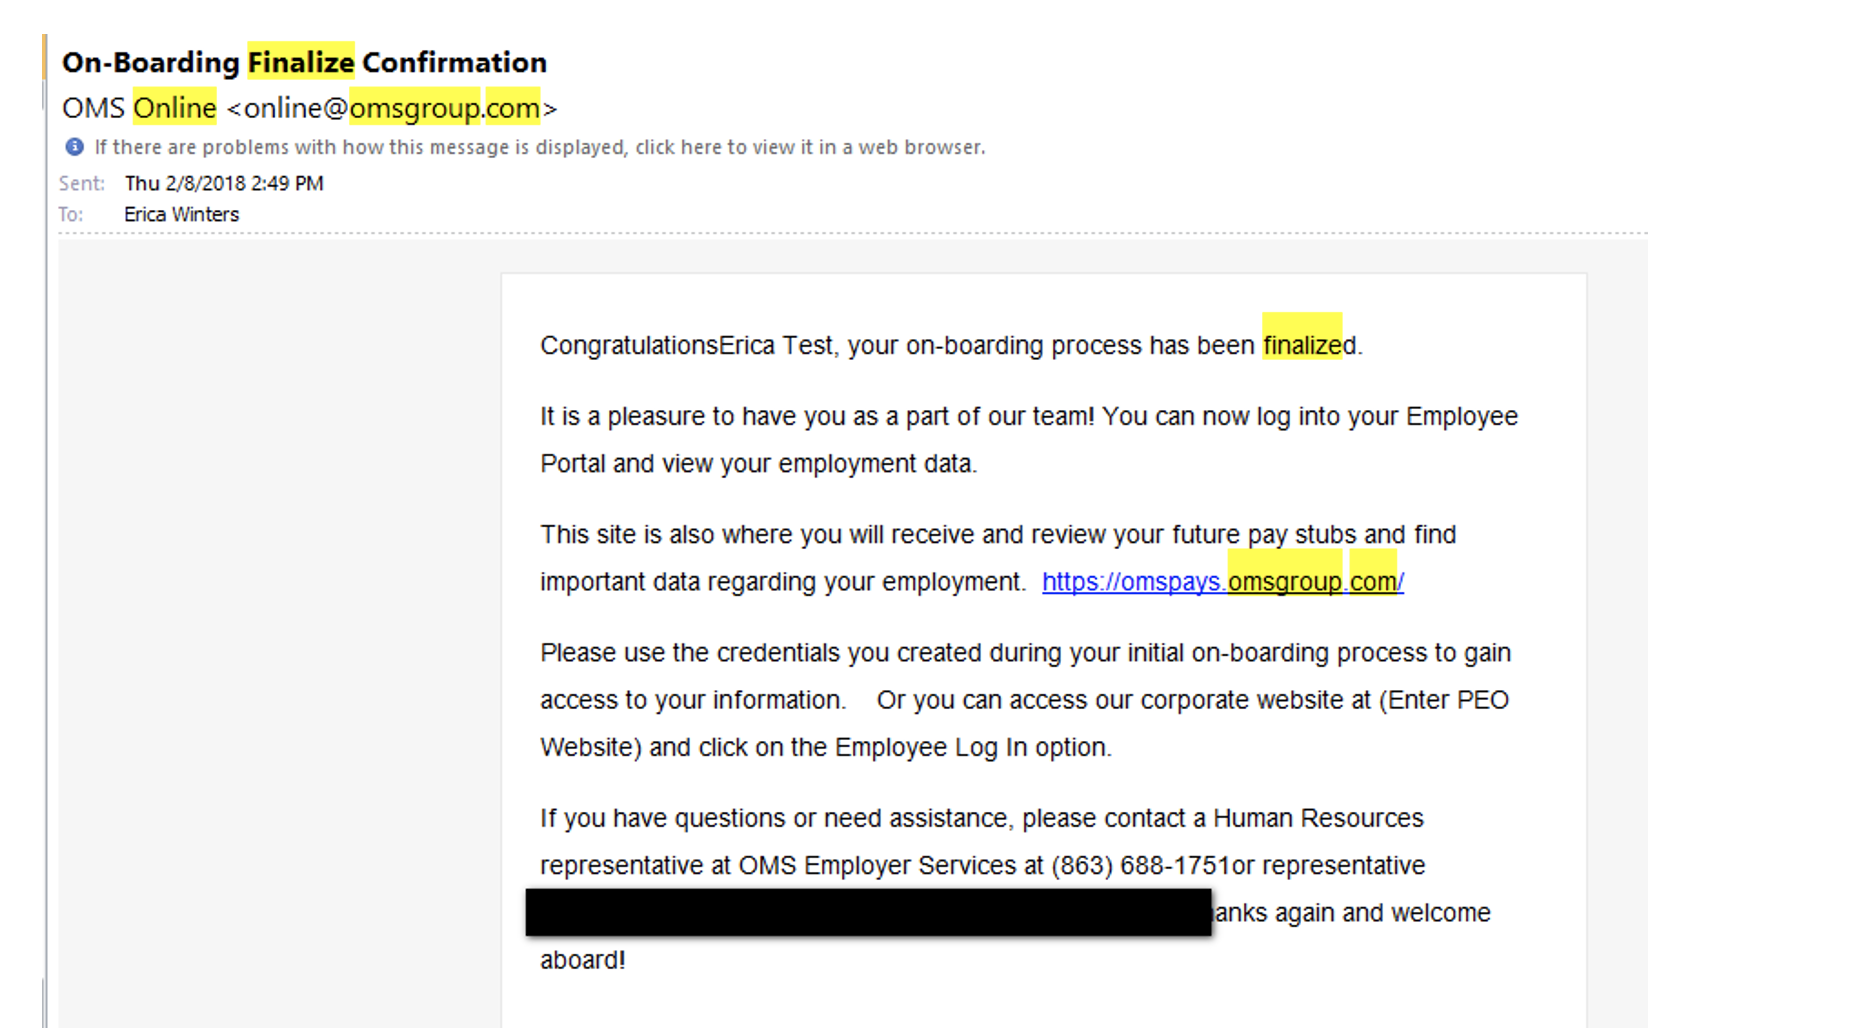
Once you see that the employee has completed their portion you will log back into the system and go to the process monitor under onboarding.
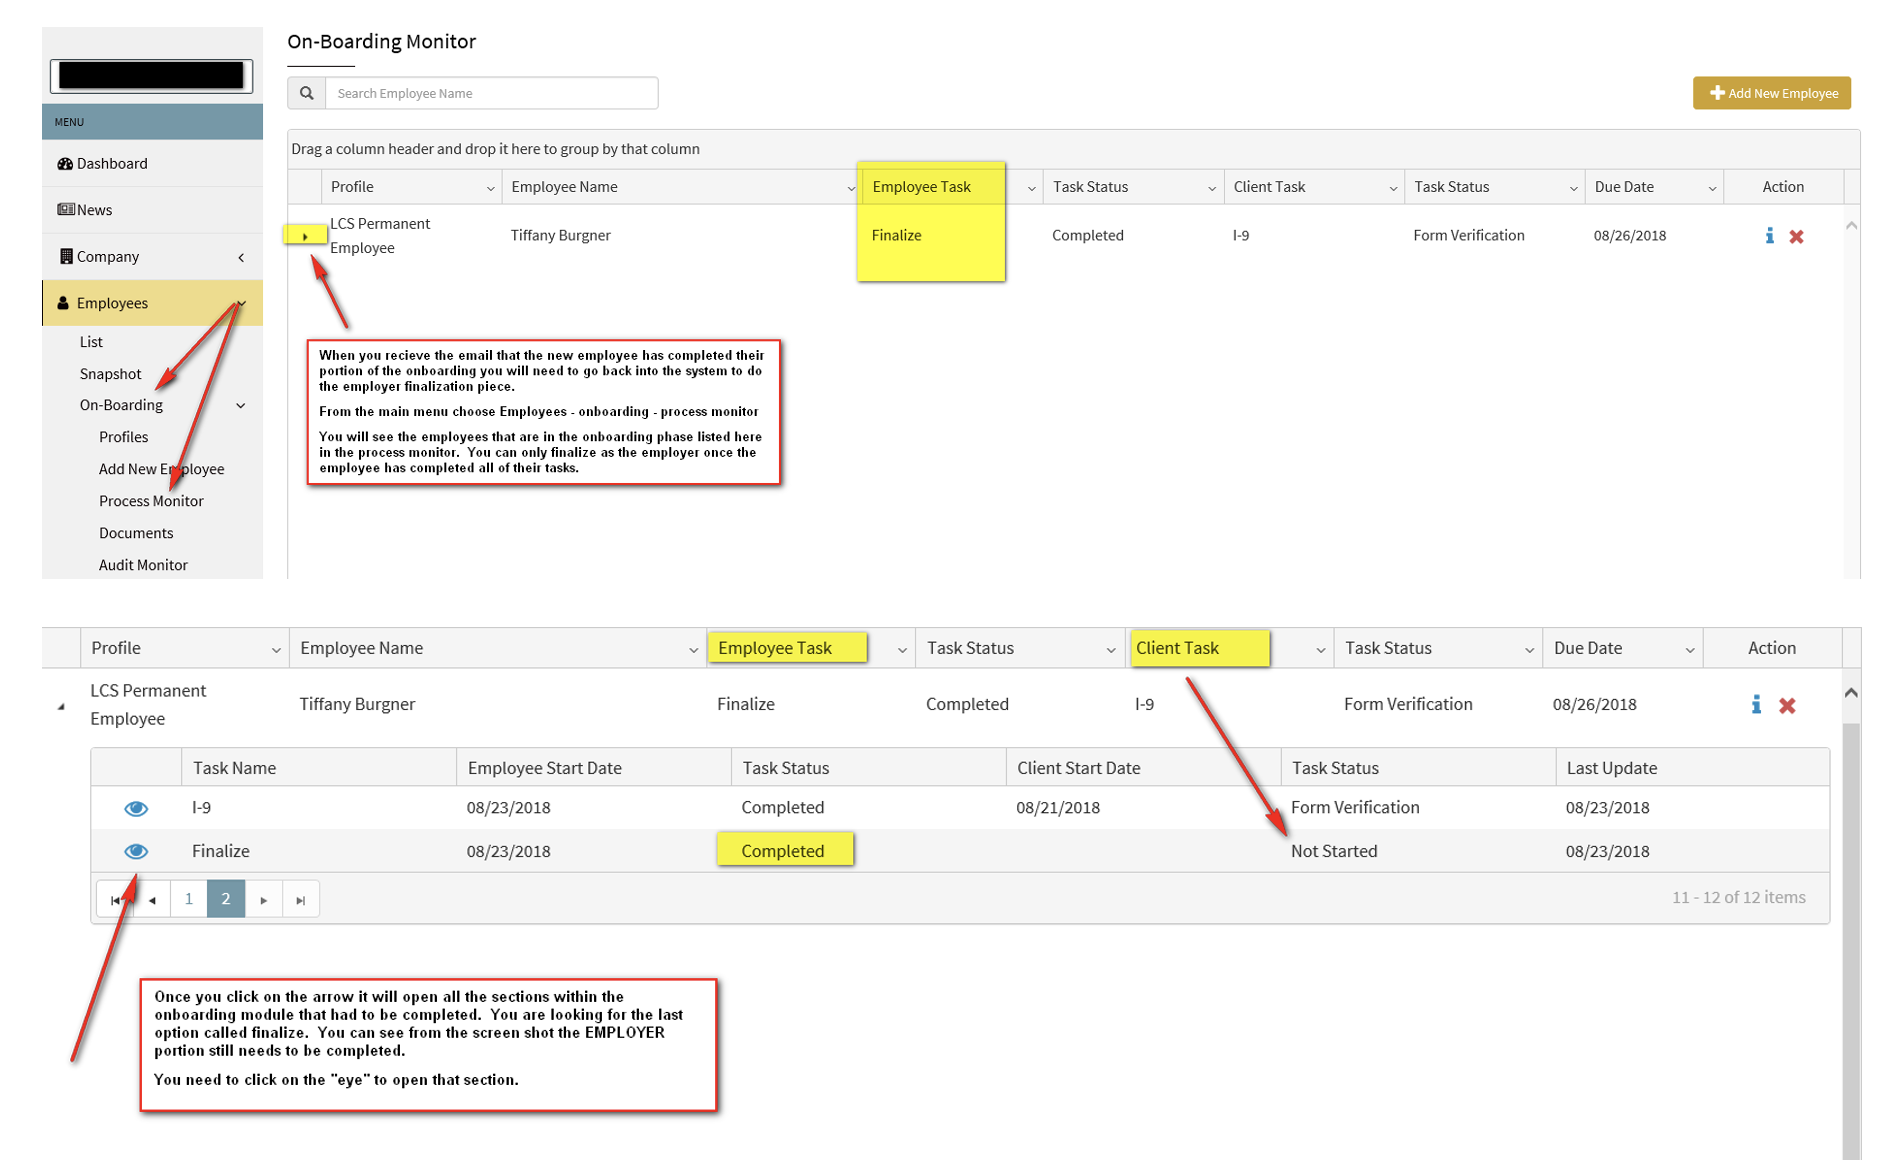
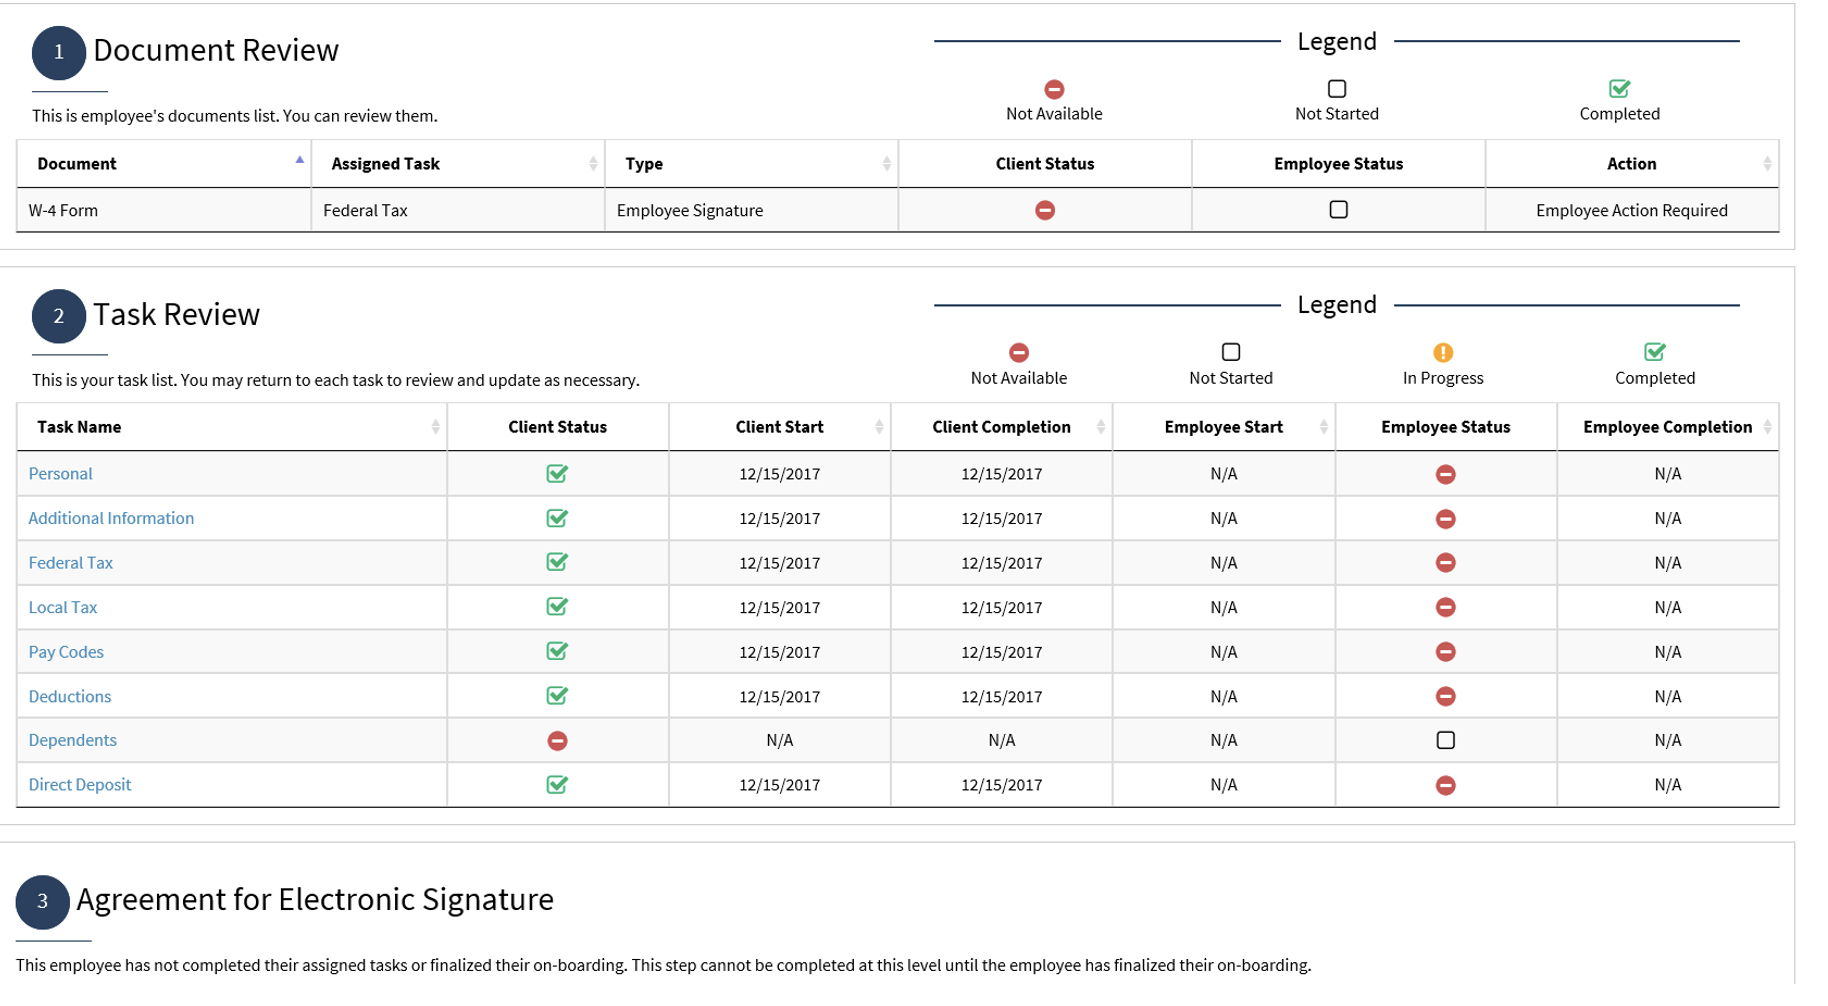
This will take you to the overview of the individual sections that were to be completed. Each section is labeled and will show you whether or not it is completed. In the example below you can see that the I9 still needs the EMPLOYER to do something which is indicated by the red color. To access incomplete sections you can just click on the task name in blue.
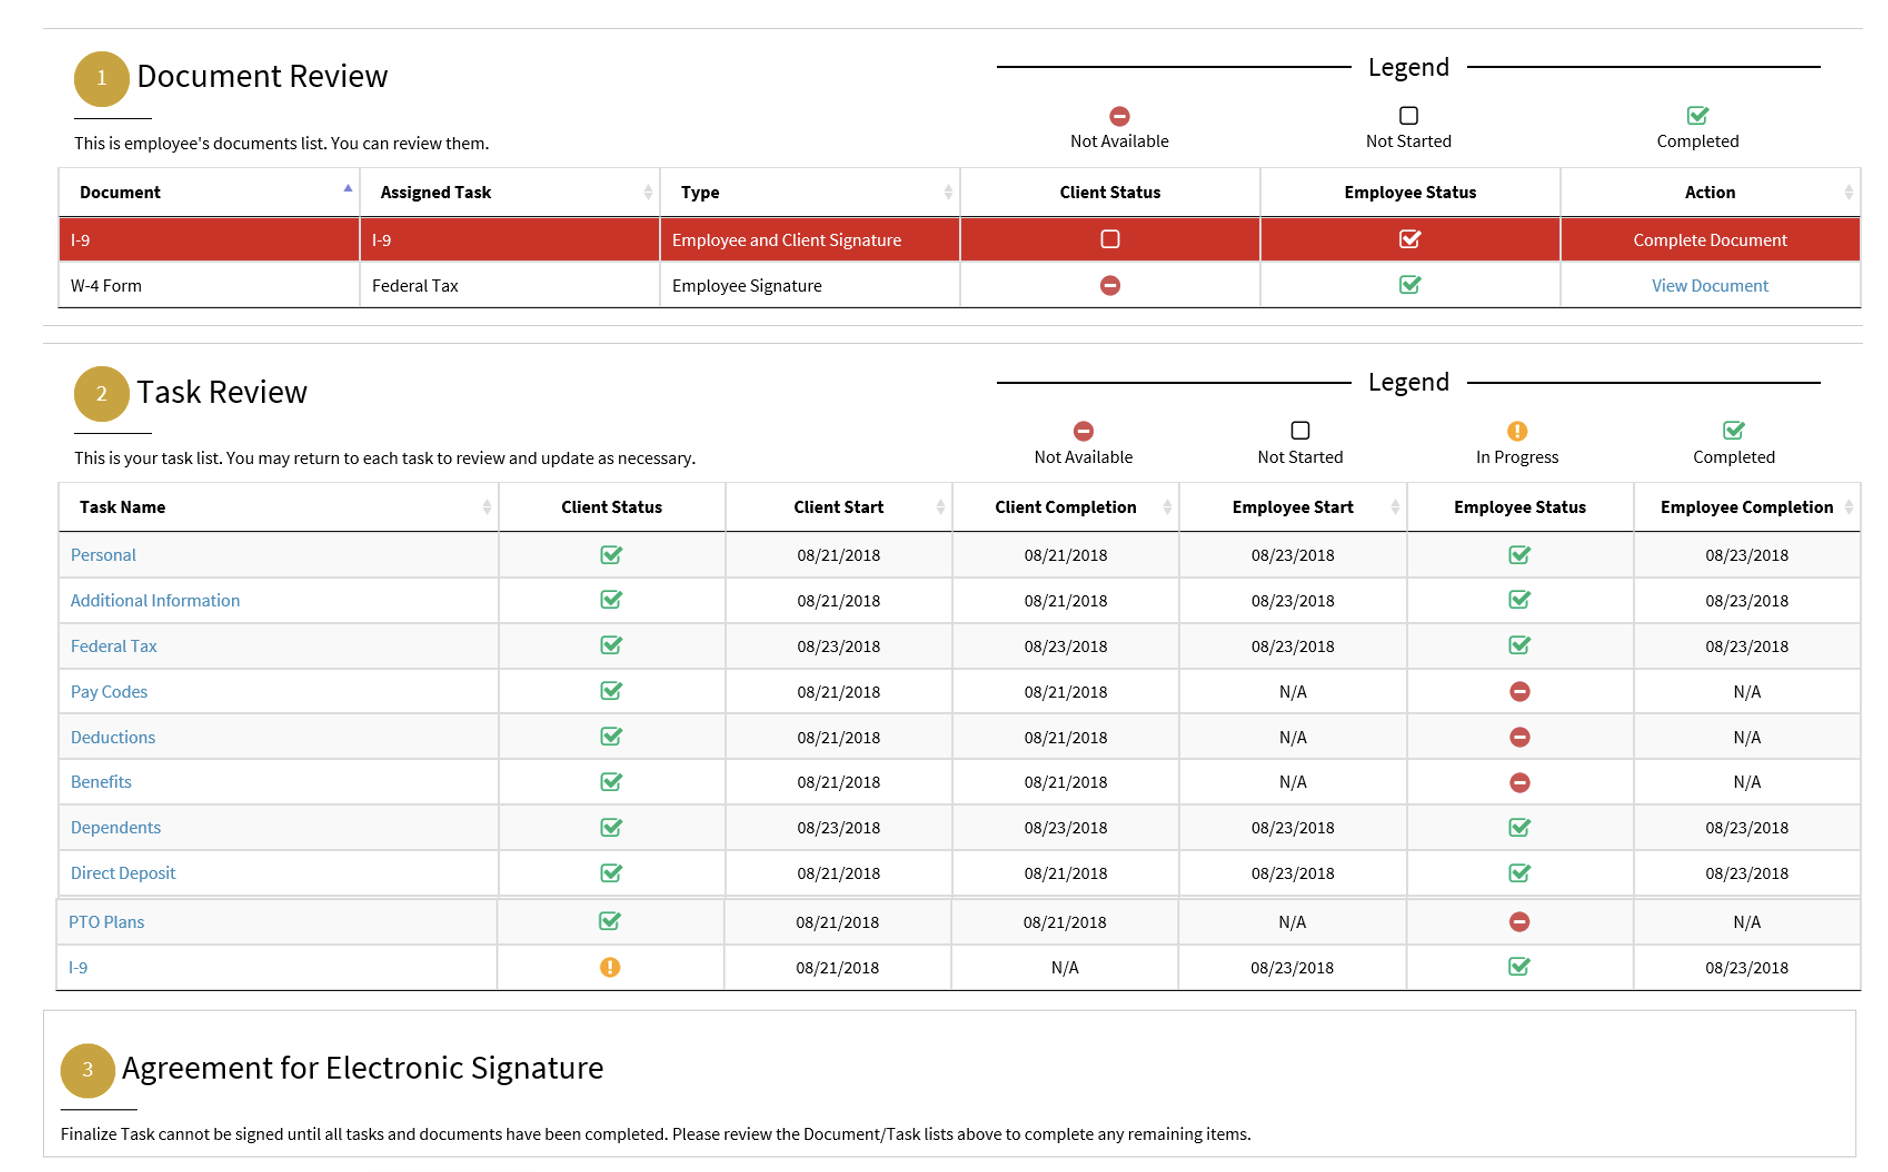
**In this example you cannot finalize the onboarding because the I9 isn’t completed. To finish the employer portion of the I9 you will click on the name of the form and open it. Once this has been done and you go back to the document and task review you will see that the agreement for signature as opened up.
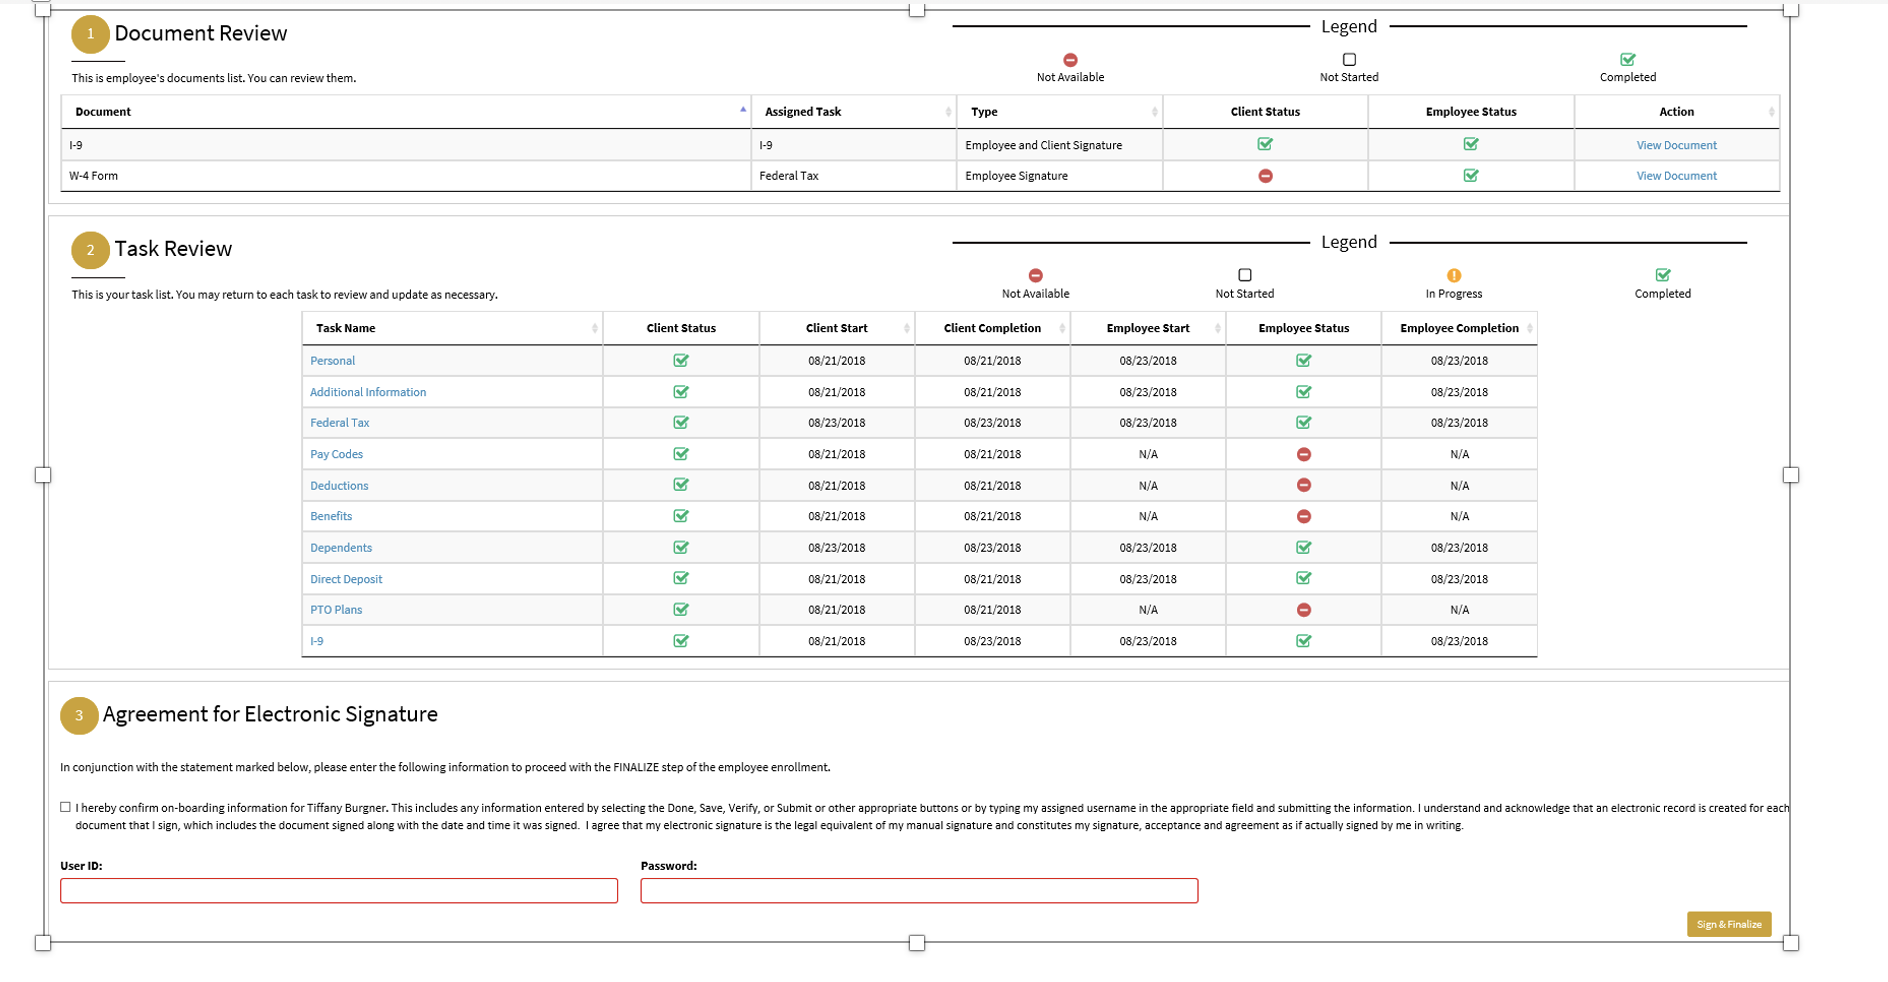
To complete this section and release the employee to payroll you must check the box and enter YOUR username and password and click the “sign & finalize” button in the lower right corner.